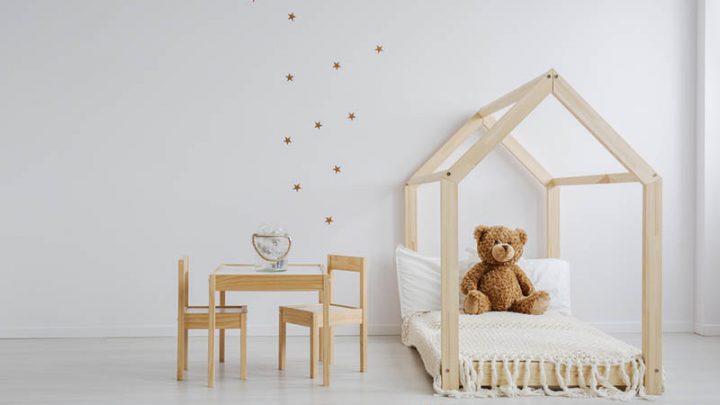
Toddler beds can be really expensive nowadays, so many families often make their own DIY toddler bed instead of buying one.
The appeal of a DIY toddler bed is that it’s cheaper to make and will work just as well as many of the store bought ones available.
They can also be made easily with simple tools and minimal instruction.
While it does require a bit more effort to build a DIY toddler bed as far as manual labor is concerned, it’ll be something you can be proud of when all is said and done.
You’ll feel a great sense of accomplishment when you finish the job, and you’ll also have made a significant contribution to your child’s comfort and happiness.
Your little one will definitely notice you toiling away to make something extra special just for him, and will value it far more than any old bed you just bought off Amazon.
Plus, it can be a fun little DIY project you can start working on in your free time, which will not only be of practical use, but will also help you keep busy and relieve a little bit of stress by focusing on something positive..
However, you must keep in mind that although the benefits are evident in the reduced cost and feel-good factor, there are still some drawbacks to DIY toddler beds that might put you off the idea.
I’ll let you be the judge of that once you’ve been through this article, though.
My goal is to be transparent and provide you with all of the information you’ll require to construct a DIY toddler bed of your own, and show you the good and bad sides of doing so.
How To Make A DIY Toddler Bed: A Step-By-Step Guide
1. Measure the crib mattress
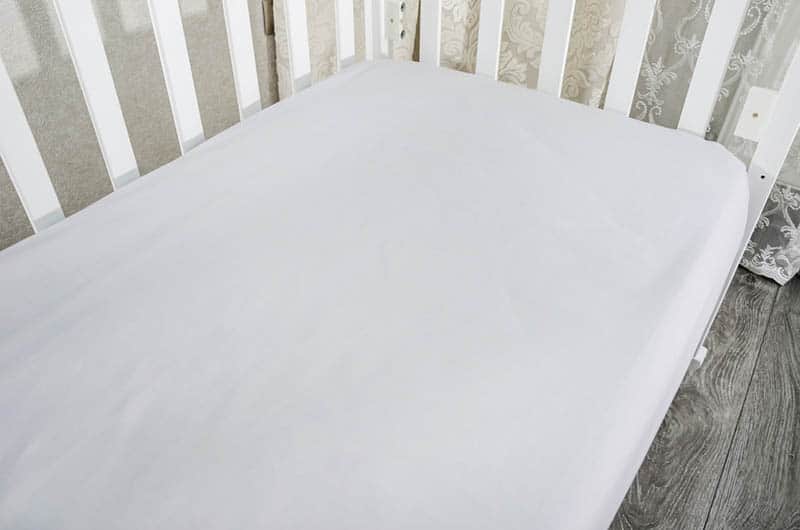
The first step in every construction project is making the proper measurements so you can draw up a plan.
While you can experiment with the height of the bed, and make it as close or far away from the ground as you want, the width and length need to fit the crib mattress perfectly.
If they don’t, then your DIY project is destined to fail. If you don’t have a mattress yet, look up the sizes of standard crib mattresses.
The current standard is 27.25 in x 51.625 in, but you can round those numbers up to 28 in x 52 in just to be sure.
A little bit of wiggle room won’t hurt, and this way it won’t end up being a nightmare to try and put the mattress in, as well as letting you change the sheets a lot easier.
2. Draw up some bed plans

Now that you have the correct measurements, it’s time to get a rough sketch going.
The accuracy of the drawing itself doesn’t need to be at the level of an architect, but it does need to be good enough to serve as a reference point and contain all the measurements.
At this stage you can choose whether you want to construct a twin bed, a full size, a bunk bed or just a regular toddler bed.
The measurements of the bed frame are the most important, while the headboard, footboard, and the others are more flexible, though you should be careful not to stray too far from the standard size.
My recommendation would be to use some of the bed dimensions seen with branded products as an example, and work from there until you find your desired measurements.
3. Figure out what kind, and how much, of the materials you need
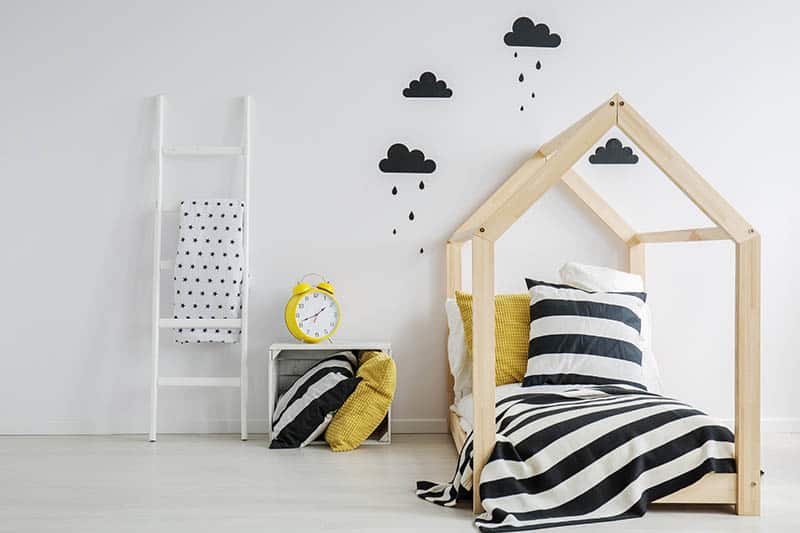
Once you have your plans sorted, it’s time to look into everything else you’ll need materials-wise to finish your DIY weekend project.
If you’re going down the simplest route of a regular bed for your little boy, you’ll need:
• 1 1x4x10’ piece of wood
• 3 1x4x8’ pieces of wood
• 5 1x2x8’ pieces of wood
However, you’ll also need to get some screws to make your kids’ new bed as sturdy as possible.
A good choice here is a set of wood screws. You can never have too many, so don’t worry about the amount as they’re quite cheap.
My recommendation is getting some 6 x 1.25 in wood screws, the standard for all toddler beds.
That should be ok for the raw materials, and you can adjust accordingly if you decide to go for something more challenging, like a twin size bed, a loft bed or something imaginative like a house bed.
This isn’t where the tutorial ends, however, as now it’s time to move on to the next step.
4. Get the necessary tools
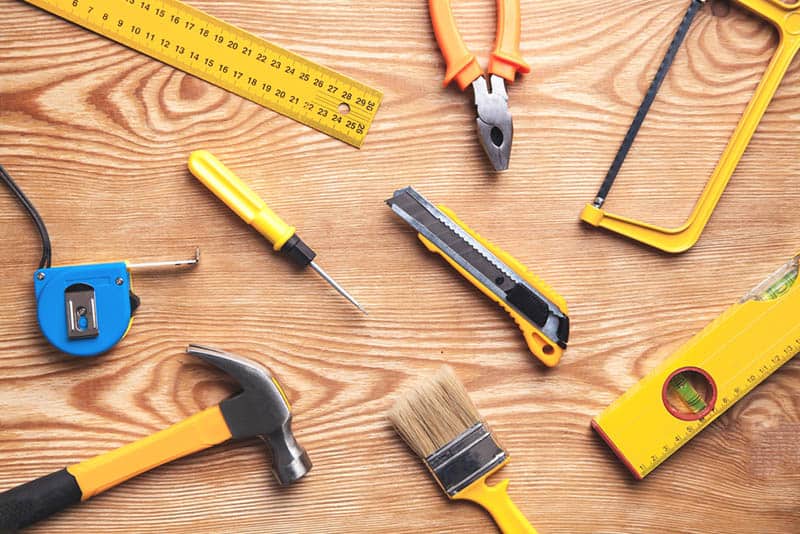
You’re going to need some tools to turn your bed plans into a reality.
The essential tools for a basic build include:
• A measuring tape
• A tube of wood glue
• A pencil for marking screw locations on the wood
• A hand saw
• A drill with an extension for a Phillips screw and a 1/16 in drill bit.
If you want to make it a bit easier for yourself, you could choose a power saw instead of a hand saw. It’ll make the cuts a lot cleaner and more precise, but it’s no big deal if you don’t have one.
The same goes for the nail gun if you don’t have a Phillips screw bit.
If you want to go the extra mile, make sure to get some sandpaper to do a bit of sanding and smooth the edges of the wooden boards, this way you’ll make it safer for your little one.
5. Cut the wood up properly
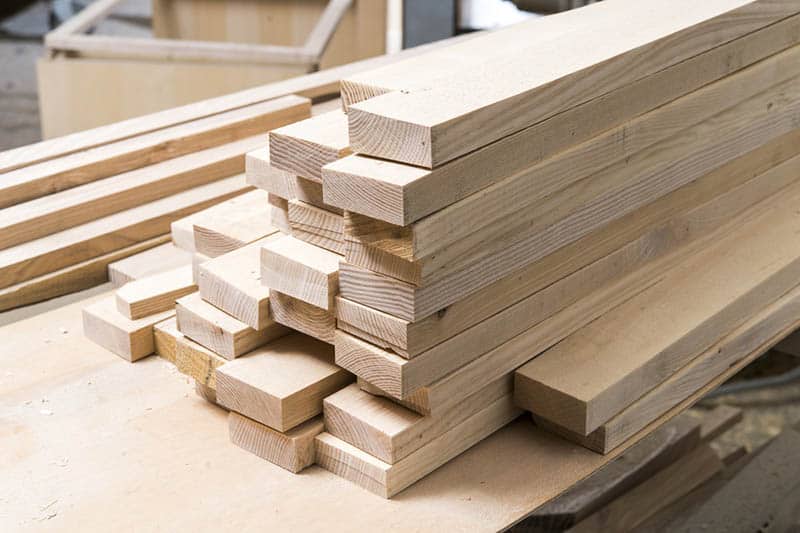
Now we have everything we need to begin this woodworking project.
It’s time to get to work, and the first thing we need to do is get the right cuts done.
For the proposed measurements, the cut list is as follows:
• From the 1x4x10’ piece, you need to cut two 53.5 inch wooden boards.
• From the three 1x4x8’ pieces, you’ll need to cut two 18.5 inch ones, two 26 inch ones, two 28 inch ones and three 29.5 inch ones.
• From the five 1x2x8’ pieces, you’ll need to cut two 52 inch boards and nine 28 inch ones.
6. Assemble the frame
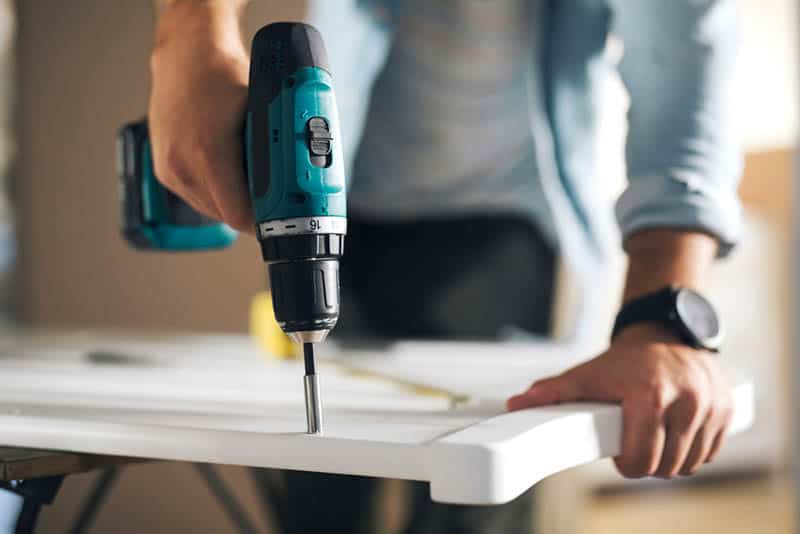
Now that you have your DIY Ikea set laid out in front of you, it’s time to start with the assembly.
As with any good build, you start with the frame.
From the boards you cut earlier, you’ll need the two 28 inch and two 53.5 inch boards. Set them up in a rectangle.
This is your bed frame.
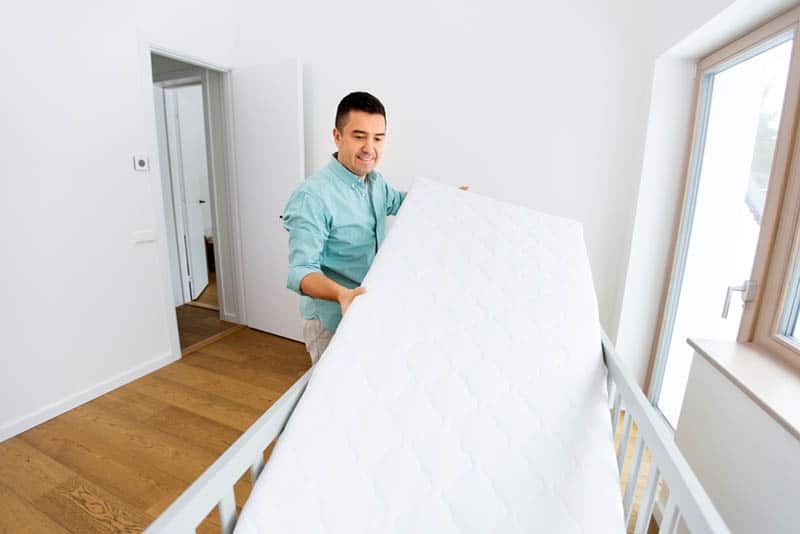
Once that’s sorted, grab the crib mattress if you have it, and try fitting it in between or setting the boards up around it to double check you’ve used the right dimensions.
When that’s confirmed, drill two holes through the planks on the outside, drill the wood screws in and glue the rest.
Your foundation should now be complete.
7. Add the mattress supports in
For this step, you’ll need all of the boards cut out from the five 1x2x8’ pieces.
The 52 inch ones are set alongside the length of the bed frame to serve as a base, and they go on the inside of the frame.
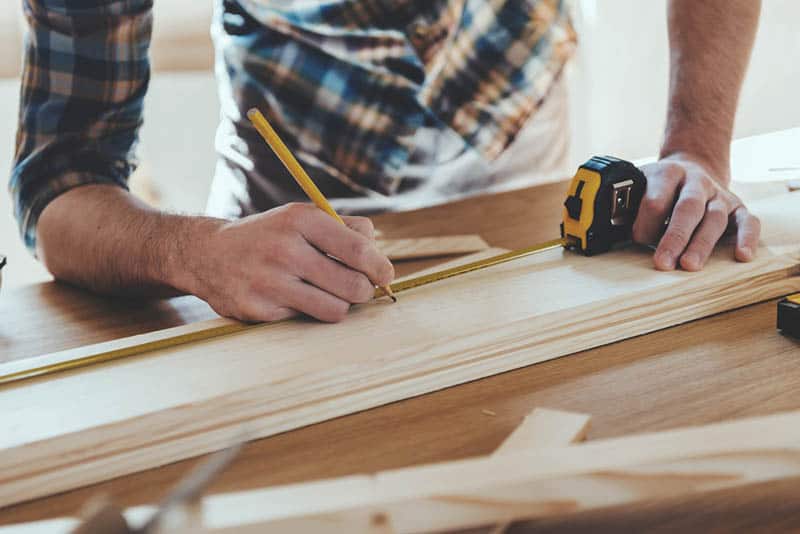
The nine 28 inch ones are then set parallel to the width of the bed and spaced out as evenly as you can (use the measuring tape for this).
Reinforce the longer ones with both screws and glue, the shorter ones are fine with just a screw each end.
8. Add the legs
Now that the ‘torso’ is complete, it’s time to give this DIY toddler bed some legs.
For this, you’re going to be using the two 18.5 inch and two 26 inch wooden boards to construct the footboard and headboard of the bed.
For this build, you’ll want the frame of the bed elevated approximately 8 inches off the ground, give or take 1-2 inches.
Set them up vertically with the wider side facing the bed frame, and secure them with wood glue and a few wood screws.
9. Finish up the headboard and footboard

The final step requires the three remaining 29.5 inch wooden boards, two for the headboard and one for the footboard.
Secure them with screws and you’re more or less done.
10. Finishing touches (optional)
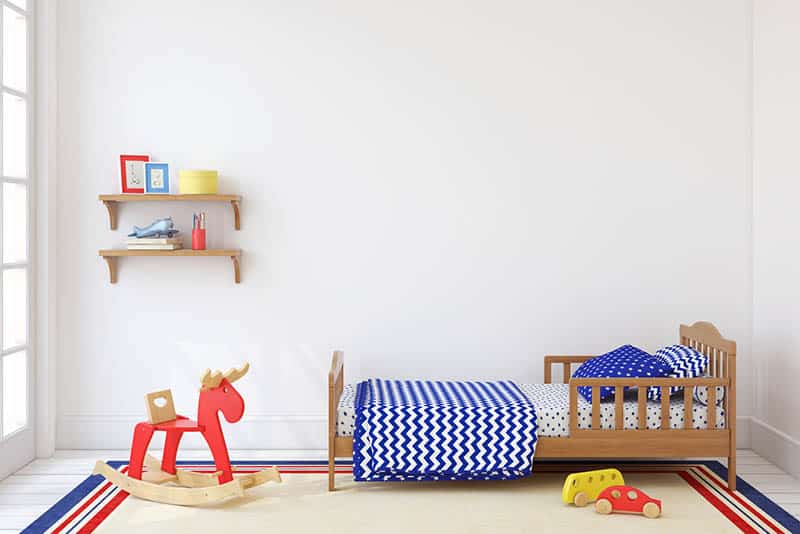
There you have it, in just a few hours you’ve got yourself a neatly made DIY bed.
It might not look as elegant as the ones you can buy online, given how this build didn’t account for any side rails, but it’s pretty good considering it’s home-made.
If you chose to get sandpaper, now would be the right time to sand some of those edges down to give it a better shape and keep your kid safe when he’s playing on the bed.
When Does A Child Usually Swap To A Big Kid Bed?
You don’t need a DIY toddler bed the moment little one is born, you have plenty of time to build one.
You’ll be using a baby crib for at least the first year, followed by a toddler crib up until the end of age 3.
Once your kid becomes a 4 year old, you’ll need to switch to a toddler bed. It’s a piece of furniture that will last him until he hits double digits, so it’s a very good investment.
When Should You Start Building It?
It’s usually best to start around age 2 or 3, or at least start planning for it.
Take some time to schedule the build and plan in the meantime.
Don’t forget to get all of the required materials well in advance so you can be as prepared as possible for the build.
The Pros And Cons Of Opting For A DIY Bed Over A Store-Bought One

Although finally replacing an old crib with a proper big kid bed is a wonderful milestone for every parent, there are a few things that need to be taken into consideration when weighing up your options:
The pros:
• Cheaper overall, making it a great option for households on a budget.
• Equally as sturdy.
• You control the quality.
• You won’t have to buy a new crib mattress.
• Greater amount of customization.
• A sense of personal achievement.
• Great as a temporary hobby or side project.
The cons:
• Takes more time and effort to build.
• Base builds will end up sticking out like a sore thumb in the kids room.
• Extra effort required to make it look more presentable.
• You need to be precise with the materials and measurements or risk having to start over.
• You might end up injuring yourself.
• The base build lacks bed rails.
• Store-bought additions might not fit well, if at all.
Thankfully, the cons aren’t as severe as they could be with some other products, but if you aren’t someone who’s good with woodworking tools, physically active, or lack the free time to commit to a project like this, the better option might just be buying a brand-name one.
While I can personally recommend opting for the DIY bed option, it’s up to you to figure out whether it’s worth the trouble.
In Conclusion
Constructing a DIY toddler bed can be a fun and enjoyable experience for both parents.
I wouldn’t suggest it during a pregnancy because there’s a lot of physical effort required on your part, but once you’re back to your old self and you’ve given birth to your child, you don’t have to be as careful, so you’re more than free to start a project like this.
With the dimensions provided in this article, any accessory or extra that used to fit your child’s old crib when it’s time to transition should fit your new DIY bed too.
Put yourself in charge of sanding the edges down and grabbing some child-safe paint, as well as some extra accessories to personalize your creation for your 3 year old child.
I’m sure that once you’re done, it’ll fit right in with the home decor of the kids room.
It may take you a bit of time, but trust me when I say that the little bit of extra effort won’t feel like work at all, and you’ll get to save a bit of money as an added bonus.
READ NEXT: Toddler Beds For Girls You’ll Absolutely LOVE
Like this post? Please share or pin it for later. You can also stay in the loop and follow us on Facebook, Instagram or Pinterest.
We love honesty! Find Your Mom Tribe is an Amazon Associate and we earn from qualifying purchases through affiliate links at no extra cost to you. Please see our full Amazon Affiliate disclosure for more information.

