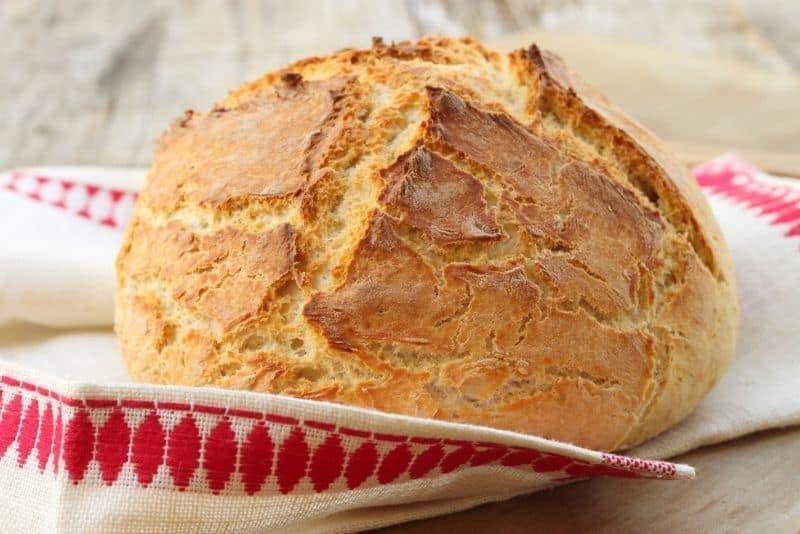
I have to admit that for the longest time, I wasn’t much of a cook. During my college years, I could survive by eating ramen noodles for days, until a friend of mine introduced me to her gluten-free soda bread recipe!
Now, to be perfectly clear, I am not allergic to gluten – in fact I’m blessed with a stomach that can take most foods pretty well – but even I had to admit that her gluten-free Irish soda bread was absolutely delicious.
This opened my eyes to the joys of baking and, ultimately, cooking.
Ever since then I’ve been experimenting in my kitchen with varying degrees of success – but the Irish soda bread is guaranteed to go down well with the entire family. (I also make the most amazing lemon cookies with just three ingredients!)
Trust me, at the speed it disappears, you would think I lived with football players!
I’ve decided to share both my favorite gluten-free soda bread recipe as well as a traditional soda bread recipe, so you can pick the one that works best for your family.
Gluten-free soda bread recipe

Before you start baking, make sure you have the following ingredients:
- 1 large egg
- 1 and a half cups buttermilk
- 3 cups gluten-free flour blend
- 4 tablespoons butter
- 1/2 teaspoon salt
- 1 teaspoon baking soda
- 2 teaspoons baking powder
Even though Irish soda bread is meant to be simple, you can also add some raisins, currants, cranberries, or even caraway seeds to the mix.
If you’re making this recipe for the first time, though, I would definitely suggest keeping it as simple as possible.
Later, when you’ve had more practice, you can start adding in extra ingredients and maybe even come up with your own version!
Once you’ve got all your ingredients laid out, first preheat the oven to 400 degrees F.
You can either use an iron skillet or a baking sheet that’s been covered with parchment paper to bake the bread on, so make sure you have that ready as well.
Get a large mixing bowl (any large bowl will do) and mix the egg, 3 tablespoons of butter that has been melted, and the buttermilk using a whisk.
You will need the extra tablespoon of butter later if you decide to use an iron skillet.
Mix the salt, baking powder, baking soda, and flour in a separate bowl.
Create a small well in the middle of the flour mixture where you will slowly begin adding the already-mixed egg, butter, and buttermilk.
Gently mix the ingredients together until they form a lump of dough, using your hands or a spatula.
If you’re using an iron skillet, take the remaining melted butter and coat the bottom and the sides of the skillet, and then place the dough inside the skillet.
If you’re using a baking sheet, place the dough onto the sheet that you’ve already covered with parchment paper. Use your hands to make the dough nice and round.
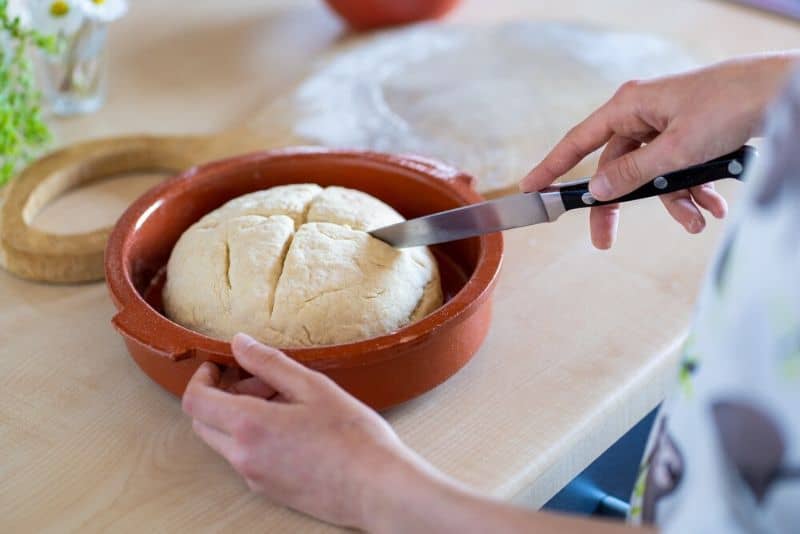
Finally, get a sharp knife and cut an X or a cross on the dough – this is an important step, as it ensures the bread will be evenly cooked, so don’t skip it!
Pop it in the oven and let it bake for around 40 minutes but make sure to keep checking if the bread has turned light brown.
If it has, gently press the top of the bread, and if it feels hard, then the bread is done!
You can also get a toothpick, stick it into the bread and if it comes out clean, this means that the bread is cooked.
Depending on your oven, sometimes the outside of the bread will appear cooked but the inside isn’t.
In this case, you can reduce the heat to about 350 degrees F and put the bread back in for another 10-15 minutes.
Alternatively, if you’re afraid that the crust will burn, just cover the top with a sheet of aluminum foil.
Once you take the bread out of the oven, let it cool on a wire rack before serving.
This easy gluten-free recipe is especially great if someone in your family is suffering from Celiac disease, where they can’t eat gluten at all.
Traditional Irish soda bread recipe
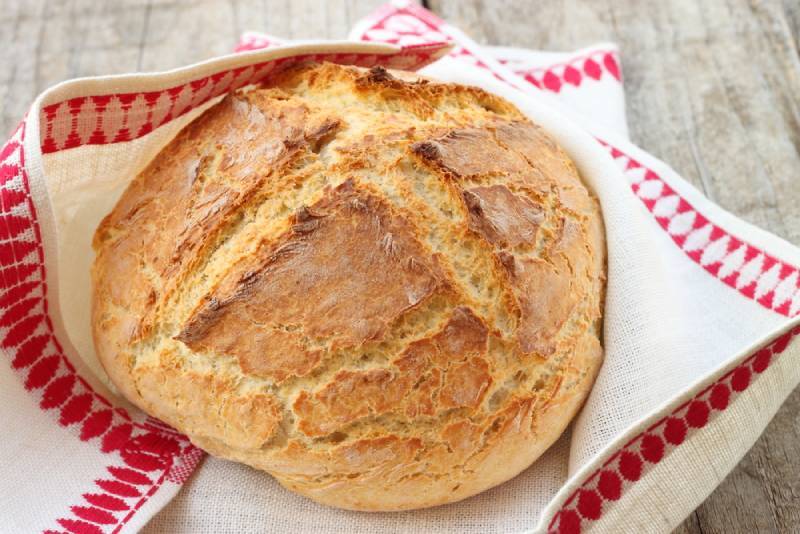
Gluten-free bread might not be everyone’s cup of tea, so here is a super quick bread recipe that uses whole wheat flour instead. You will need only a handful of ingredients:
- 1 teaspoon salt
- 4 cups whole wheat flour (you can substitute with all-purpose flour as well)
- 1 cup buttermilk
- 1 teaspoon baking soda
In this recipe, you’re going to need to preheat the oven to 400 degrees F.
Use a large mixing bowl to combine all the dry ingredients (baking soda, salt, and flour) then make a small well in the middle of the mixture where you will pour the buttermilk.
Gently mix the ingredients until you create a lump of dough, and round it using your hands.
Remember not to knead the dough too much! Place it either in an iron skillet (make sure to butter it beforehand) or on a parchment-covered baking sheet.
Before popping it in the oven, make an X on the top with a knife so that the bread cooks evenly.
Bake it for at least a half an hour to 40 minutes, or until you notice that the outside has turned a nice golden brown.
When it’s done, leave it out to cool to room temperature before serving.
The total time you need to bake this bread is around an hour, depending on how skilled of a baker you are!
Serving tips for Irish soda bread
Regardless of whether you’re making a traditional or a GF Irish soda bread, it’s always helpful to find new ways of incorporating it into your meals!
While it’s a staple of St. Patrick’s Day festivities, there’s no reason why you shouldn’t make Irish soda bread anytime you feel like it.
First off, the final step to a traditional or gluten-free soda bread recipe is to serve it warm because that’s when it’s most delicious.
Get some butter, spread it on a fresh slice, and watch it melt to perfection!
Just make sure to cut the bread into thick slices – this will help with the crumbs, especially when you’re dealing with kids who manage to get crumbs everywhere.
Apart from butter, jam works really well on a warm slice and it goes down really well with kids, too.
As a super special treat, offer them a bit of Nutella, although be prepared – that’s going to be the only thing they will want to eat for days!
Even when the bread is no longer fresh out of the oven, there are many different ways you can serve it, such as using it to make grilled cheese sandwiches!
Simply grab any kind of cheese you have in the fridge, cover one slice, and top it off with another slice of bread.
Butter both sides and slowly toast the sandwich until the cheese is perfectly melted.
To give your sandwich an extra kick, you can add ham as well.
And if you don’t mind spending several hours in the kitchen cooking one meal, you can make beef and barley stew, which is the traditional stew that’s served with Irish soda bread.
But even a chicken stew recipe, for instance, will pair perfectly well with a warm slice of bread, too!
How to store all that deliciousness
If you still have some bread left over after your delicious meal, it’s good to know how to properly store it so you can enjoy it for as long as possible.
At room temperature, Irish soda bread can keep for up to 3 days and it’s best to store it in a bread container that will prevent it from getting dried out by the air.
You can also pop it in the freezer where it can stay for as long as 3 months! To defrost it, first, let it sit in the refrigerator for a couple of hours.
Then, heat your oven to about 350 degrees F and put the bread in for a couple of minutes until it’s completely warm.
To wrap up
Whether you’ve opted for a gluten-free soda bread recipe or a traditional one, baking can be such a fun family activity! Just be prepared to deal with a huge mess, afterward.
But I think it’s totally worth it as it creates wonderful memories for the kids to look back on!
Plus, it’s a great way to bond and learn some new skills so your kids will be able to cook much more than frozen pizza rolls when they hit their teenage years.
If you’re new to baking, it helps to remember that there’s a lot of trial and error involved, especially when we talk about baking bread. So, give yourself time and room to make mistakes (such as completely burning the crust).
I’m sure you’ll perfect your gluten-free soda bread recipe in no time!
Like this post? Please share or pin it for later. You can also stay in the loop and follow us on Facebook, Instagram and Pinterest.

This post contains affiliate links. Please see our full disclosure for more info.

