Hand washing cloth diapers is by no means an ideal scenario, but, if you’re on a tight budget and can’t afford a washing machine or have simply decided to save a few extra bucks up by not buying disposables, it’s the go-to method.
Hand washing cloth diapers means that you’re quite devoted to the approach of cloth diapering as, regardless of method, you’ll still have to mimic every cycle of a washing machine yourself, taking away from your free time.
Between the numerous tub refills and wash cycles, your energy and time drains away much like the water itself.
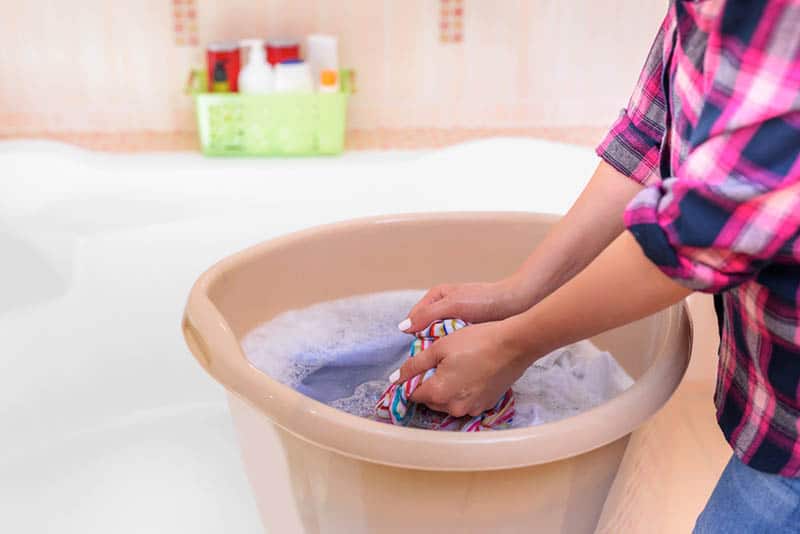
There are several ways of going about it, the most popular way uses the tub as a container for all the dirty diapers while some people even opt for something as simple as a washbasin or even just a bucket.
Whichever one you choose to utilize, you’ll have a lot of manual labor on your hands and quite a few steps to learn.
Thankfully, they’re simple and once you get into them, the routine will set in really quickly and become almost instinctual.
Most people tend to use a plunger to help imitate that wash cycle, but some who don’t mind getting fully down and dirty even resort to stomping the stains out.
Personally, I’ve only ever tried cloth diapering a few times, mostly in times of extreme monetary constraint.
I’ve always really favored the disposable diaper, but more on that a little bit later.
The focus of this article, after all, is to learn how to get the poop out of your cloth ones by hand.
The Guide To Hand Washing Cloth Diapers
Bathtub method

What you’ll need:
• Rubber or latex gloves
• A 3-5 gallon bucket
• A plunger
• Detergent
• Clothesline/Drying Rack
• Stain soap
• Access to hot water/warm water
• Disinfectant
When trying to hand wash cloth diapers using the bathtub method, the first thing that you’ll want to do is get a bucket that can fit all of the soiled cloth diapers.
Fill it up with warm water and mix in a little bit of detergent before Pre-soaking them for about 30-40 minutes.
This includes all of your prefolds, inserts, fitted items, and the like.
If you have any laminated items that require a cleaning, only put them in for a few minutes near the end.
Once done you’ll want to start filling your tub up to about halfway.
Use either hot or warm water, whichever you prefer.
You can use cold water too, but I wouldn’t recommend it as it makes the process much longer and requires you to repeat a lot of the last steps several times more than is necessary.
When the tub fills up, add up to about a quarter of the amount of detergent that you’d use for a regular load since the goal here is to prewash the diapers.
Don’t add too little as you’ll just end up with semi-clean and still stinky diapers.
Don’t add too much either because you’ll have a tub full of soap suds.
Might be fun for the kids, but it’ll just make matters worse during your wash routine.
When you have it prepared, start adding all the cloth diapers and other diapering items in and get that plunger out.
It’s time to start agitating the batch.
This process usually takes 10 or so minutes to do.
Alternate between the plunger and hand agitation by rubbing diapers against one another.
This’ll help get the stains and the lingering poop out that you couldn’t get with a scoop when you had to change your little one’s diaper in the first place.
Alternatively, you can use a washboard if you have one handy, it’d definitely save a lot of time and energy.
Once satisfied, leave the odd broth to soak for 5-10 minutes before draining the water from the tub.
You’re free to use bleach during this process if you like, but only ones that are safe for interaction with a baby’s skin to prevent agitation.
When the water is fully drained, set the diapers as well as the diapering items aside, either to the back of the tub, a bucket, or a diaper pail before squeezing them together to help drain the excess water out of them.
While wringing may be your go-to idea, it’s not recommended.
If you wring the items out, you’re likely to either stretch or damage them, lowering their effectiveness or usability.
You might as well throw them out at that point.
The next step is to pull the items apart, one after the other and check for any lingering stains.
If you find any, grab that stain soap or pepper in some more detergent on the spot before grabbing a nice, soft bristle brush to work the cleaning agent in.
Put the clean items into a different pile as you work through them.
Once all items are stainless, it’s time to fill the tub with warm/hot water again.
Use the same amount as well as the same amount of detergent used before.
Mix it all together so all the detergent is absorbed and you get some nice, soapy water.
The amount of laundry detergent used is based on the amount of water added.
A regular washing machine usually has a 12 gallon capacity which is about half a tub on average.
For that amount of water you’d want to use the same amount of detergent that you would in a regular washing machine.
When it’s ready, it’s time to put all the diapers back in. Now you’ll want to do the swish cycle with your trusty plunger.
The items need to be able to move around in the water which is why I recommended earlier getting it to about half full.
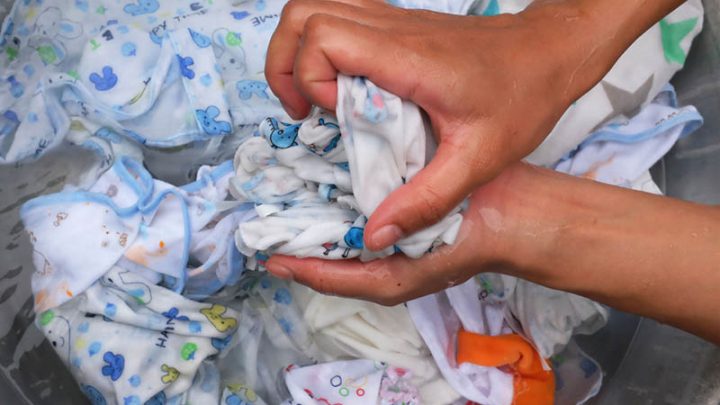
You can also do this by hand by treating the diapers like a piece of pizza dough.
Knead them thoroughly to agitate them and infuse them with the soapy water for a thorough cleaning.
Continue for another 5-10 minutes before draining the water again.
Next, you’ll want to repeat the earlier process of squeezing the water out of the diapers and setting them aside.
Then, it’s time to fill the tub back up again, except without the detergent.
After that, it’s back to some agitation once more either by plunger or by hand, though using your hands is recommended this time as you’ll need to do the squeezing process.
Get the diapers out, draining the water from them before setting them aside to get all the detergent out.
This is all to better imitate the rinse cycle of a washing machine.
When all items are done rinsing, drain the water from the tub again and repeat the process until the water comes up relatively clear after agitation.
Once you’re satisfied with the result, squeeze the diapers one final time as well as your other diapering items and put them in a bucket, diaper pail, or similar container.
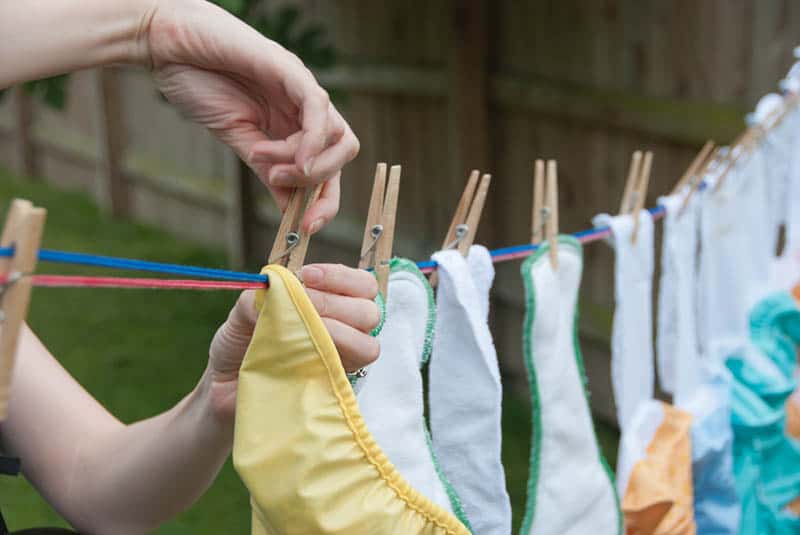
Finally, it’s time to take them out and set them aside to dry.
Either through the use of a drying rack if you don’t have access to a balcony at home or a clothesline if you do because it’s a lot simpler to set up and takes up less space.
While the diapers are drying out, use the time to scrub the tub out with disinfectant so you can still use it for its intended purpose and so it doesn’t reek like a nauseating landfill.
The cheapest and most accessible one that you can get your hands on is usually vinegar, just make sure to really get in there and scrub out any last trace of the nightmarish odor.
Do note that your diapers may feel a bit stiffer than normal, especially if you used bleach in the washing process.
To help counteract this, add a little bit of baking soda for the last rinse cycle to help soften things up.
If you forgot, you can also just do the same as you’d do to a rug and beat the diapers out to help fluff the fibers back up.
Don’t use regular softeners as they’re likely to make the diapers less absorbent than they already are by coating the fibers.
The bucket/washbasin method:

The items you need for this one are more or less the same, albeit with the amounts of detergent adjusted accordingly depending on the size of the bucket or washbasin.
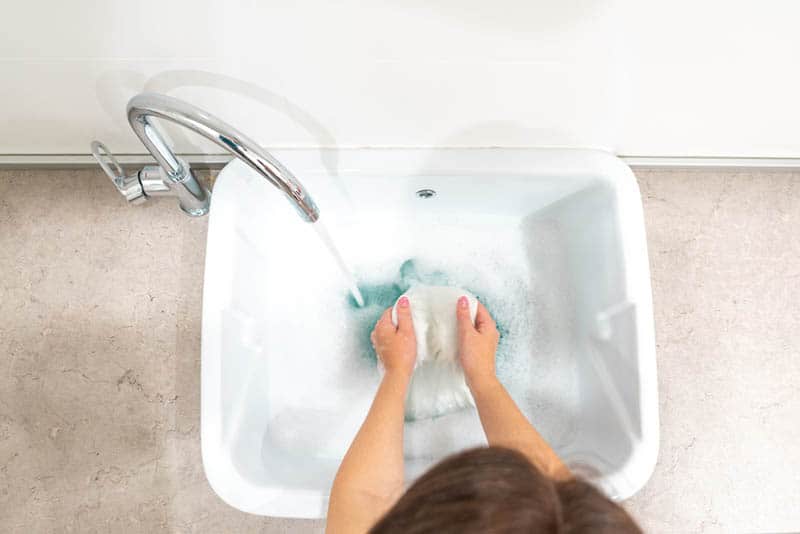
The process is relatively similar too, except, with the smaller surface area, you can now use your feet to act the part of the washer instead of a plunger.
This’ll put a lot less strain on your back and core muscles and might feel a lot easier to perform in general since you don’t have to be hunched over all the time.
However, when doing so, it’s best to keep the container of choice inside a bathtub so the water doesn’t go spraying everywhere.
It’s easier to give the tub a rinse than having to scrub the entire bathroom.
Whichever way you end up doing it, it’s sure to be one heck of a workout!
If anything, you’ll not only be saving on laundromat services but on gym memberships too, unintentionally saving you some extra money in the process.
The one other tip I can give you here is to do smaller loads.
This way you’ll have to do fewer repeats of the rinse cycle and they can be done a lot quicker. Schedule washes every few days to prevent a large buildup of poopy diapers.
You’ll be surprised to discover just how often your little one poops when the diapers pile up real quick.
Should You Always Hand Wash Cloth Diapers?

Despite some of the benefits of DIY washing, it’s not exactly an easy routine to keep up full time.
I know that some people have no other choice but to resort to always hand washing cloth diapers, especially in modern times, is going to be a challenge.
If you can afford it, save up and buy a washing machine.
Believe me, it’ll make your life a whole lot easier if you do.
Doing the whole process by hand takes away a good hour, if not two of your time and has you dealing with rancid smells of poop.
This is time that you can have back by getting a washer for your apartment or house – time that you can use to tend to yourself and your hobbies, or to spend with your dear little mess maker who’s responsible for those big loads back there.
The one time I had to resort to hand washing cloth diapers was back when I was a new parent and I had my darling daughter.
I was completely unprepared for everything and couldn’t juggle my current job with my parenting duties so we became a single-income household.
That took a lot of adjustment and many things required budget cuts then, including saving on the water and electricity bill where we could.
I swapped from disposable, all-natural diapers to cloth ones in order to pinch pennies at the cost of quality and convenience.
Honestly, the smell was the most unbearable thing, though a clothespin managed to stave that off for a bit.
I had very little time for myself as mothering essentially became more than a full-time job and my husband often worked overtime.
Once I managed to find a vocation that I could manage while also being a parent, things started to pick back up and the first moment that we could, we bought a washing machine and swapped back to disposable diapers.
Cloth ones, while lifesavers on a budget, aren’t nearly as absorbent as the disposables and are known to cause diaper rashes more often.
That part could slide somewhat, but the amount of time saved was immeasurable.
I felt less of a slave to my parenting and managed to get back to my hobbies allowing me to enjoy being a mother again without it feeling like a chore.
You sacrifice so much just to save a few bucks which mostly comes from the electricity bill really.
You end up using almost the same amount of water and detergent as you would in a full load of laundry from a washing machine anyway, a bit less, so it’s barely even worth all the effort.
That’s why my recommendation for all you mammas out there is to only hand wash if necessary.
Save up for a washing machine as fast as you can or at least use the local laundry facilities if you have a laundromat or similar establishment nearby. It’ll save your life.
In Conclusion
Hand washing cloth diapers was the way of life in the past, and, in my personal opinion, that’s where it should stay unless you’re on a really tight budget and have to resort to the most cost-efficient methods.
Should you opt for this route, I recommend getting a separate plunger and bucket from those that you use on your regular toilet and other cleaning duties.
You don’t want to treat the diapering items and the diapers themselves with contaminated items as that’d be counterproductive.
And, the money that you save should go to a fund to get a washing machine for your home as it’ll arguably be one of the best investment decisions you’ll make!
It’s a hard routine to commit to, I know, but if you persevere for a while, the reward will be more than worth it once you manage to get your lifestyle adapted and back on track to normalcy.
Pinch your pennies and pinch your nose during these rough times so you can afford to get some of that precious free time back for yourself, so you can relax in your own home again and feel rewarded for being a parent once more.
Until next time, mammas.
READ NEXT: The Best Guide To Eco-Friendly And Biodegradable Diapers
Like this post? Please share or pin it for later. You can also stay in the loop and follow us on Facebook, Instagram or Pinterest.

We love honesty! Find Your Mom Tribe is an Amazon Associate and we earn from qualifying purchases through affiliate links at no extra cost to you. Please see our full Amazon Affiliate disclosure for more information.

