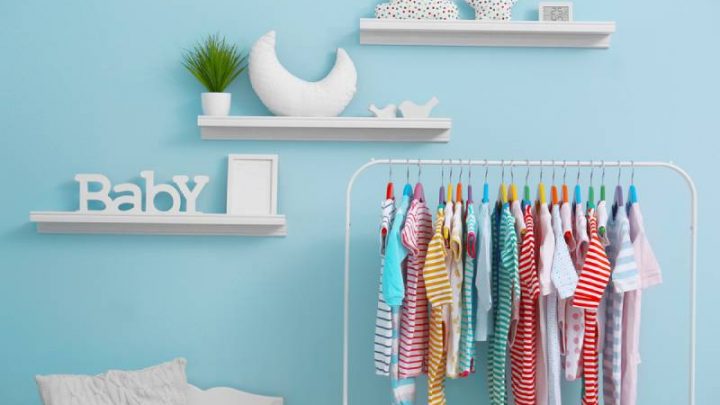
It’s a very exciting moment when your little one is finally old enough for daycare, but several problems, such as misplaced clothing, might arise with that new endeavor so you’ll have to figure out how to label clothes for daycare properly.
In all honesty, learning how to label clothes for daycare isn’t all that complicated as there are several ways of going about it! The most important detail is making the clothing labels distinguishable and personalized to each child if you have multiple.
Usually, it’s best to get a few clothing tags or sticky tape to serve as blank canvases for name labels as you can use a permanent marker or a sharpie to write out your little one’s name on his clothes.
When I did it, I simply took a bunch of old clothing, tore it up into neat squares, attached them to the inside of the collar, and wrote my child’s name and home address in case something got confused so the person would know where to return it to.
It was a tedious process, but I only started doing it later on when I wouldn’t be changing clothes for my kids every two months or so because of their rapid growth.
When they were younger, I just used stickers and masking tape as they were the most efficient and easy to apply, albeit short-term, solutions.
They worked well as labeling for the rest of their baby gear too like their sippy cups and baby bottles, though those could just be solved directly with a sharpie.
In this article, I’ll inform you about just how important daycare labels are to help keep your kid’s belongings from getting lost or misplaced and I’ll give you a couple of tips on the best methods to use.
How To Label Clothes For Daycare
1. Using sticker labels as name tags
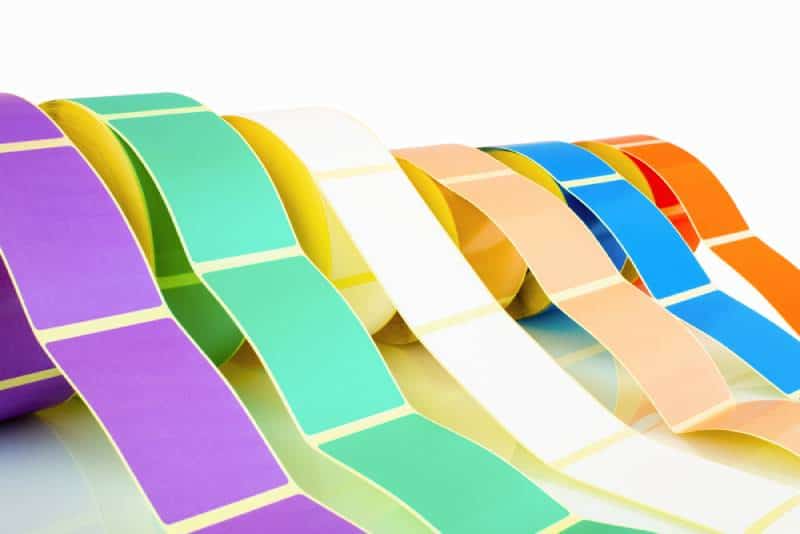
This method for how to label clothes for daycare is one of the best overall seeing as kids grow quite quickly and you’ll be changing shirts, pants, and underwear all the time.
All you have to do is get some masking tape, a bunch of stickers, or something similar that can double as a writing surface, grab a permanent marker and get to writing.
A laundry pen works even better as do sharpies, but they’re not necessary.
They’re not needed because these labels are very short-term as they’re likely to fall off from soaking up your kiddo’s sweat and peeling off after a few days from friction alone, depending on where you place them.
They might also come off when you put them in the washing machine as that’s sure to rinse the glue off. Just make sure to place a new sticker label after the clothes dry and you should be good to go.
It might prove to be a bit more tedious than some of the other methods simply because you’d have to replace them often for clothing items.
That said, trust me when I say that it’s a lot easier and a lot more effective than the other methods as it makes reading the child’s name off the tag on the child’s belongings a lot easier than writing it over a clothing tag.
Plus, you get to choose the length of your writing area instead of having to rely on those small fabric label squares.
2. Using the tags already present on child’s clothes
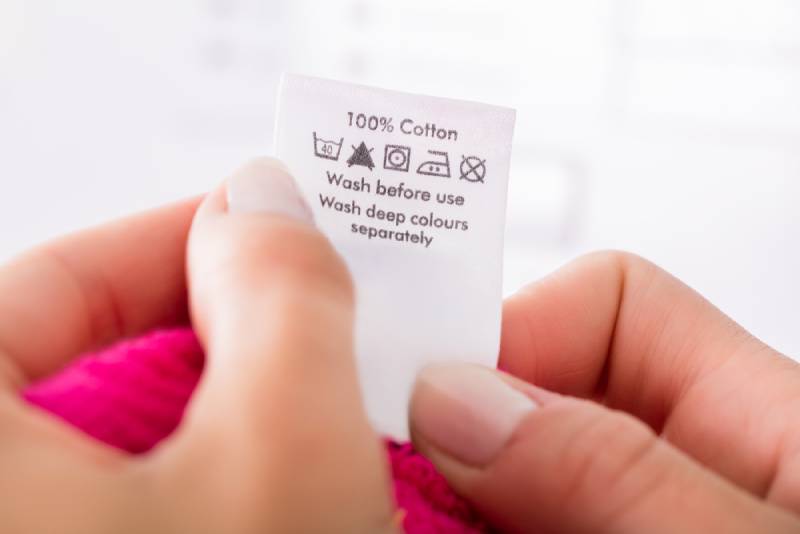
A slightly cheaper, albeit less effective, way of labeling clothes is through the use of the kids clothing labels that are already on the clothes to begin with.
You know those fabric labels that provide wash care instructions? They’re also an alternative spot where you are free to write your little one’s name to prevent mix-ups from happening.
While I’d say that a permanent marker, sharpie, or laundry marker might be great, I’d at least opt for a color other than black so that the text is distinguishable from the rest.
That said, depending on the type of material, even that might prove challenging.
As an alternative, I suggest using nail polish, but you’ll need to wait for it to dry and fully evaporate so that it doesn’t smear all over your child’s skin.
The same can be said for markers unless you’re using a dryer safe laundry marker.
Also, it’s important to mention that any of these labeling tools will fade over time as they go through the washer frequently so don’t forget to check and re-label if necessary.
3. Get personalized stick-on clothing labels
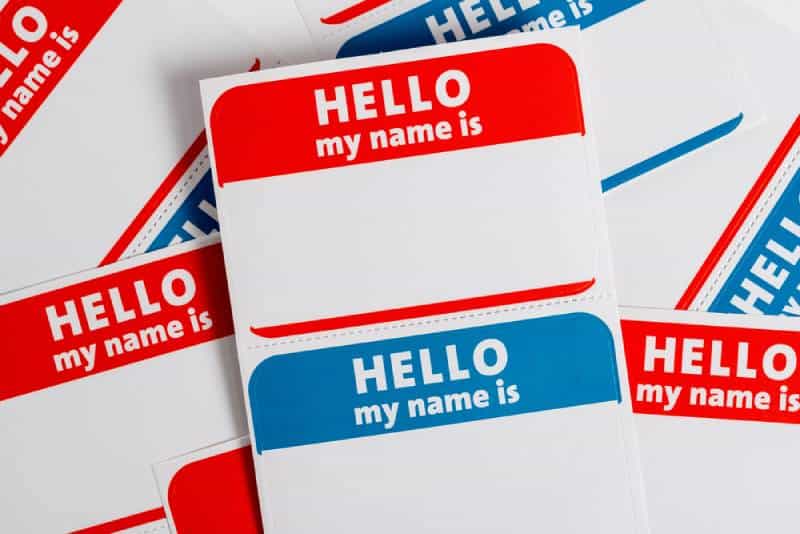
Another option is getting high quality name tags to place on your kid’s clothes.
These can be purchased from Amazon or Etsy and you might find some rather intricate designs. Some even offer to print out your kid’s name for you before shipping the label pack.
These can usually be ordered in a variety of colors that can help you distinguish quickly between items belonging to your kids and the others at a daycare in case of mix-ups and lost items.
They might be the more expensive option of the 4, but the benefit is that they’re usually waterproof labels of extremely high quality (depending on who you buy from) and are likely to ‘stick’ around for longer.
Even if the name somehow smears off, the sheer uniqueness of the label should be distinct enough for caretakers and other parents to know that their kid ended up with your kid’s clothes by accident.
The only real downside is the cost, but if you’re looking for a quick method for how to label clothes for daycare, this is the one for you.
4. Using plastic tags
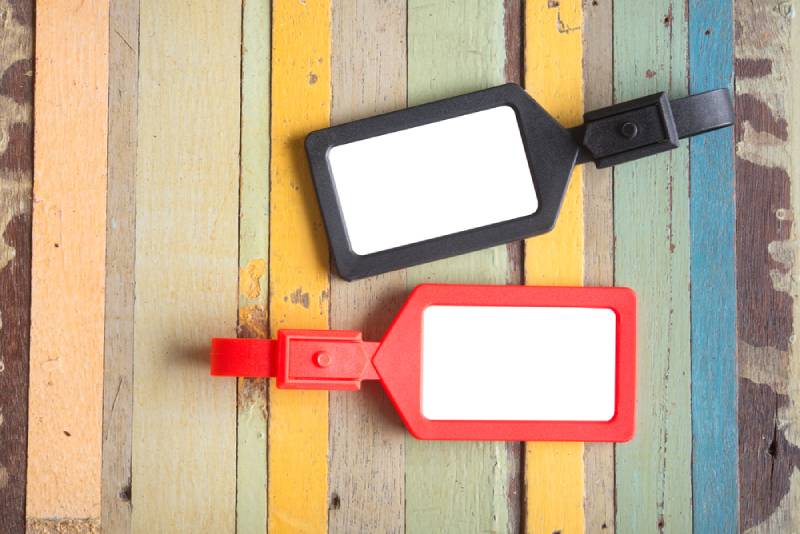
The final viable option is to simply use plastic tags that you can hoop through the clothing labels.
They’re much easier to write on and the writing’s going to stay on for much longer, plus, attaching them doesn’t require any sewing.
All you’ll really have to do apart from writing the name is get really good at tying small knots as that’s how you’ll be attaching them.
While this is a viable option, it does have its downsides. Namely, the fact that plastic tags can get really itchy which is why we tend to remove them off new clothes in the first place.
The other problem might be that the clothing itself doesn’t have any loops or clothing tags to attach the plastic tag onto meaning the option becomes entirely unviable or you’ll have to resort to ruining the clothes just for the sake of recognition which I don’t recommend.
Guide To Labelling Clothes For Daycare
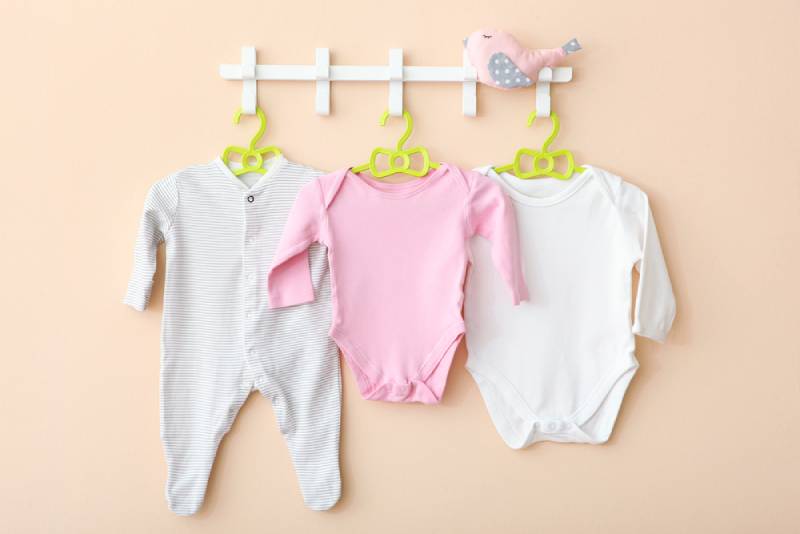
If you want to know how to label clothes for daycare quickly and efficiently, you need to figure out a strategy for how to put them on.
What you need to do is figure out a system that works for you, something that’ll make this feel less like a chore and make it a bit more organized so it becomes easier over time.
The best way of going about it is to first grab everything you’re going to have your child wearing to daycare. Yes, everything.
While I’m aware that this might feel like a bit too much work and too forward planning, it’s better to do it all now than worry about everything else later.
Once you have all these clothing items sorted, start labeling all of them in your preferred method and folding/hanging them up in the closet as you go along.
I’ve found that the easiest way to do this is to always place the labels on the same place each time depending on the type of clothing the tag is going onto.
A good example is the back of the collar for shirts and jackets and the back ends of pants so they don’t stick out or tags around the belt holes if opting for plastic tags.
If your mini munchkin is old enough to wear underpants, anywhere on the elastic is ideal, especially on the outside since it’s less likely to wear out and be an irritation.
Make sure to label each piece of clothing in the same manner so it’s more recognizable and so you don’t have the caretakers or parents second-guessing themselves on whose clothes these are.
If the tag is long enough, I usually put the home address as well or my phone number so the person who ends up with the clothes can call and return it.
Another good thing to note is to never label over the actual clothing sizes and other important stuff if you can help it because you’ll need that information at some point.
What About Other Items?
Clothing isn’t the only thing you pack for your kid in daycare. There are many other items that might get confused like baby bottles, lunch boxes, pacifiers, sippy cups, water bottles, and similar.
Pacifier
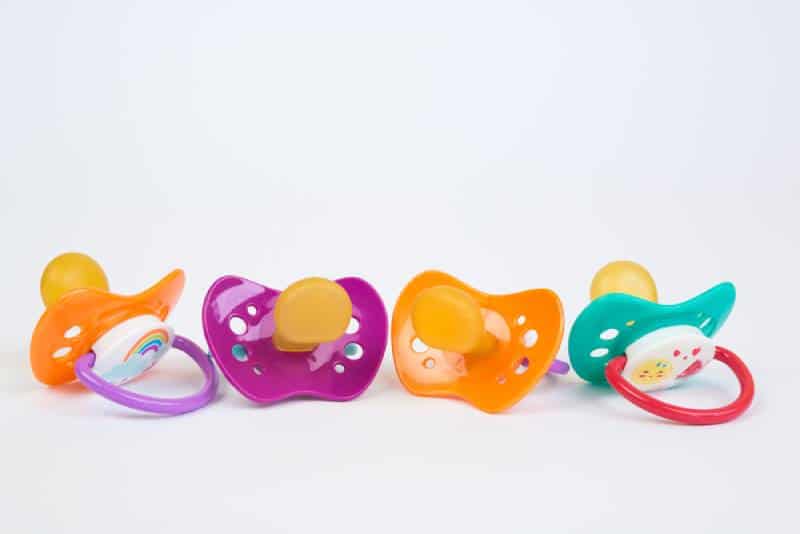
For pacifiers, it’s rather easy. All you have to do is get a plastic tag, get it around the end of the binky and you’re good to go.
There’s really no other place to put it and using markers on the actual item in question isn’t something I’d recommend given how much saliva passes through it.
Baby Bottle
When it comes to baby bottle labels, most daycare centers usually have their own rules regarding that seeing as its food. Getting that mixed up wouldn’t be a pleasant experience for the kids and the caretakers in particular.
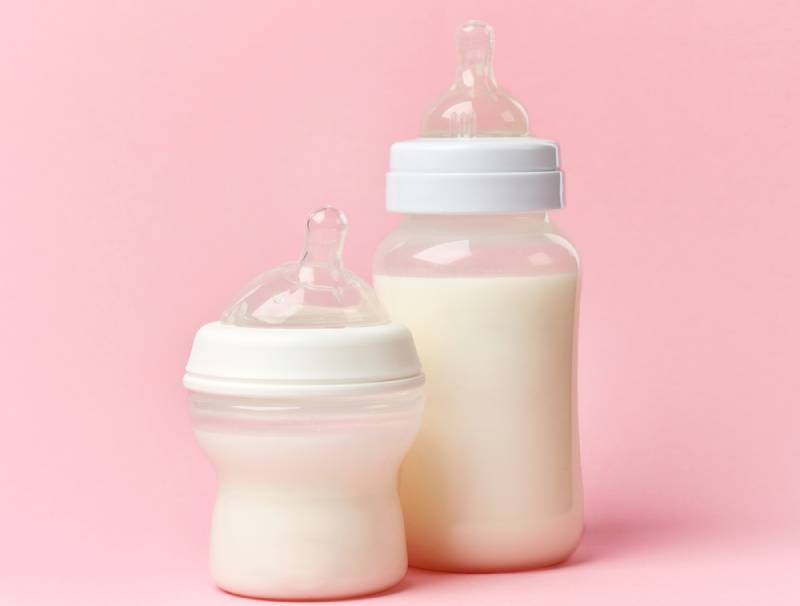
While instructions may vary, the most common things that you have to note down are going to be:
- The baby’s name
- The date when the bottle was filled
- Whether the contents is breast milk or not
The first one is obvious as it’s needed for recognition.
The second one is so the caretakers can note whether the milk might be spoiled or not as it states what date it was sent and the last one serves a similar purpose, as well as knowing what’s safe and what isn’t.
While you can use baby bottle labels or masking tape for bottles, you can also just write it directly onto the bottle itself since most bottles have intended spots on them to do so.
However, it’s rather helpful if you also tag the bottle cap as that isn’t attached to the bottle itself.
Those little rascals get lost or misplaced in daycare centers all the time and you’ll be thankful you tagged them too, believe me.
The same method works for water bottles and sippy cups too.
Diapers
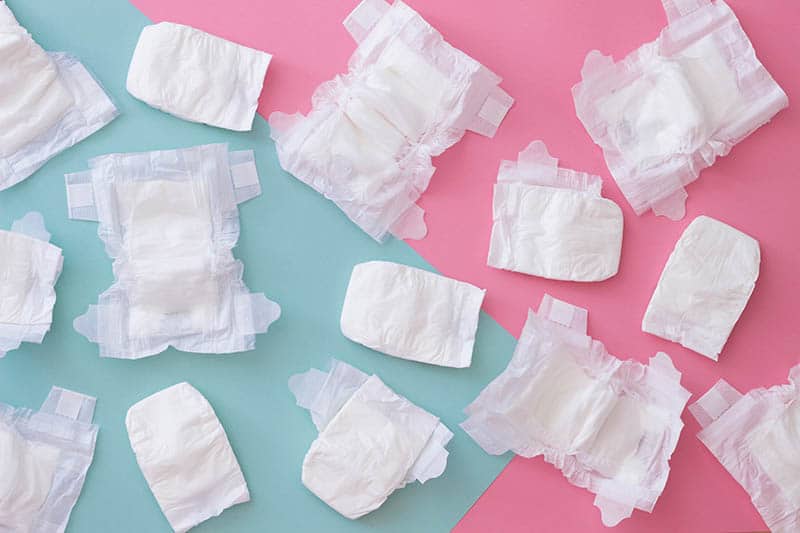
One of the key pieces of baby gear to pack for daycare are diapers, which I highly recommend labeling.
Some kids tend to have really sensitive skin and you might want your little one to wear a specific type of diaper that caters to their needs so getting diapers mixed up can lead to diaper rash development, or worse.
RELATED: 10 Best Organic Diaper Rash Creams For Baby’s Bottom
For instance, my second baby had a really nasty reaction to some chemical in regular disposable diapers so I had to get organic nappies for him. I made sure to label each and every one that I sent to the daycare.
You’ll want to make sure you do the same if you have a tike who has such sensitive skin. The best place to tag them is the waistband and all you’ll need is just a sharpie or permanent marker and you’re done.
There’s no need for any extra special name tags as you’ll be going through thousands of these and that’d just be a waste of money.
You might want to keep the labels for cloth diapers that can be hand washed, or put in the washing machine. Stick them on the back end so your child can’t reach it, write his name with permanent marker and you’re done.
Baby food
As far as baby food is concerned, all you need to do is tag the container itself as the daycare workers will be preparing from there. Just write your little one’s name on the container with a marker and you’re done.
RELATED: Baby Food Recipes: Yummy And Easy Homemade Baby Food
Stuffed animals
You might decide to pack one stuffed animal to keep your child company, especially during the early days where he might get panicked and fussy because his mom isn’t around.
Should that happen, you can sew a tag in on the toy’s side or wrap a plastic tag around their paw, tail, etc. and write your child’s name on it so it doesn’t get lost in all the fun.
Other Items
There are tons of other potential items that you might be packing for your kiddo’s daycare too that I simply cannot cover in one article, but if you consider them important, make sure to tag them.
I’m sure that the above methods have given you enough insight on what to do.
The Bottom Line
While it’s important to know how to label clothes for daycare, it’s not the most difficult thing to do.
Sure, it might seem like a lot of effort at first, but once you go through the initial steps, the rest is just maintenance and the added safety will be more than worth the work you put into it.
That said, clothes aren’t the only things that you need to have labeled, many other items are important enough that you don’t want them to get mixed up, especially baby food, breast milk, pacifiers, and diapers.
Getting items like those confused can lead to bad consequences like allergic reactions, your child getting sick, or even developing an infection.
Outside of those, label anything else you don’t want to lose, but also remember not to put anything that’s important to your child in there in the first place otherwise you’ll be in a lot of trouble, mamma.
Carefully plan out what you want to put in there, create a system for yourself and make sure to label all of the items. Until next time.
Like this post? Please share or pin it for later. You can also stay in the loop and follow us on Facebook, Instagram or Pinterest.
We love honesty! Find Your Mom Tribe is an Amazon Associate and we earn from qualifying purchases through affiliate links at no extra cost to you. Please see our full Amazon Affiliate disclosure for more information.

