When you first begin BLW, your primary concern is how to cut food for baby led weaning.
Of course, safety is your main priority here.
The last thing you want is your baby to choke on pieces of food that are too big.
This is why preparing BLW food the right way is so important.
There are some things you must pay special attention to while doing so, like size, texture, and how difficult it is to eat Even though not all solid foods require cooking, they must all be cut properly.
After all, your little one has never eaten anything but milk and purees up until this point, and it’s now time to let her self-feed.
As scary and impossible as this might sound, baby-led weaning is extremely safe if done the right way.
This is why you need to learn how to cut food for baby led weaning properly before doing anything else.
So read on to get all the info!
What Is Baby Led Weaning?

Before we discuss how to prepare food for your baby in detail, you must first be familiar with the term itself and understand what baby-led weaning is.
Since the beginning of time, moms and dads have been feeding their little ones in pretty much the same way. I’m sure you know the drill, in fact, you don’t even have to be a parent to know how it works.
The baby is sitting in her high chair while the parents struggle to feed her as much, and as nutritionally, as possible.
They usually give her veggies, fruits, or even baby food with meat.
However, the bottom line is that this food is always mashed, blended, or turned into a creamy paste.
You’re giving your baby cooked, pureed food and you’re feeding her with a spoon.
There is absolutely nothing wrong with this approach. Your baby will be well-fed and her diet will be balanced.
Lately, an alternative method has become popular: baby-led weaning or BLW.
To put it simply, the infants feed themselves.
They’re not spoon-fed by an adult. Instead, they feed themselves using their own hands.
The AAP (American Pediatric Association) doesn’t have an official stance on this matter.
Nevertheless, they do warn about different choking hazards.
When And How To Start BLW?
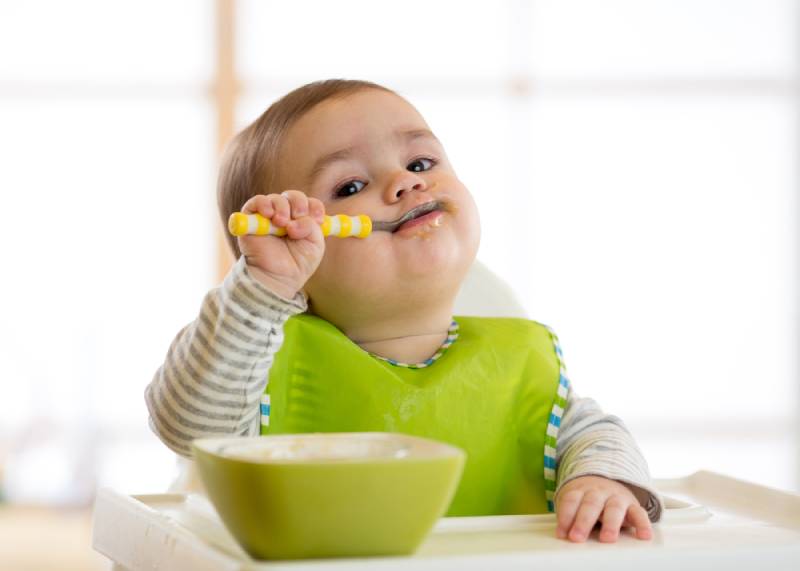
As well as obsessing over how to cut food for baby led weaning, every mother out there wonders when and how to begin the process.
It’s not like you can give your baby purees one day and then expect her to eat solid food all by herself the next, just like that.
BLW has to be introduced to your baby gradually.
It’s important to note you shouldn’t begin this process until your baby is around 6 months old.
This is when their digestive system is sufficiently developed to process solid food.
Of course, there is no universal answer that applies to every single child in the world.
Maybe your little one will be ready for solid food sooner or later, but use 6 months as your primary guideline.
If you’re introducing foods to your 4-month old baby, allowing her to feed herself without assistance is impossible.
At this point, you have to continue giving her purees.
Nevertheless, it has been proven there is a huge difference between a baby of 4 months and a baby of 6 months.
Therefore, a 6-month old baby doesn’t need to be fed by an adult as she is perfectly capable of doing so herself.
First and foremost, her fine motor skills are developed enough to make this process possible.
Usually, babies at this age are able to reach and grasp different objects, including foods.
You should pay close attention to your little one’s behavior during mealtime.
Is she taking part in the mealtime?
Is she trying to grab the food from her or your plate?
While doing so, does she try to pick up the food with her thumb and index finger, instead of her palm and all her fingers?
If she does, that’s known as a pincer grasp and it’s one of the most important signals that your baby is ready for self-feeding.
Another skill required for self-feeding is the infant’s ability to sit without anyone’s help (or with the caregiver’s minimal assistance).
Why is this important?
Well, if a baby can sit on her own, it means that she doesn’t have to use her hands to help her balance, instead, they’re free for self-feeding.
In fact, experts say that the period from birth to 6 months actually serves as preparation for baby-led weaning.
From that moment onward, it’s safe to start implementing baby-led weaning.
The next thing you should take into account is the tongue-thrust reflex, which causes a baby to spit food out of her mouth.
It needs to be gone before you introduce BLW.
Also, pay attention to her chewing. The fact that your baby has no teeth (or only a few) is not relevant here.
What’s important is her desire to chew her food, including the ones that don’t actually need to be chewed.
Finding a good place to start

I already mentioned that your baby has to be able to sit by herself, without any adult assistance, for this whole thing to even be possible.
If she can do that, the next step is to figure out the best place for BLW to start.
The best option is to put the baby in a high chair.
This is the setting she’s used to so it has the best chance of keeping her still.
A high chair has foot support and gives your baby a chance to sit up straight, which is the best position for eating.
RELATED: Best High Chairs: Features And Considerations
Your lap is also a good option. Just don’t use it to give your child balance.
Choosing the right foods

Now that you’ve chosen the right place, we need to choose the right foods.
You can’t introduce just anything out of the blue.
You shouldn’t do this at all if you want the desired results.
Whatever food you choose, make sure it’s healthy so your baby has a balanced diet.
Take it one step at a time
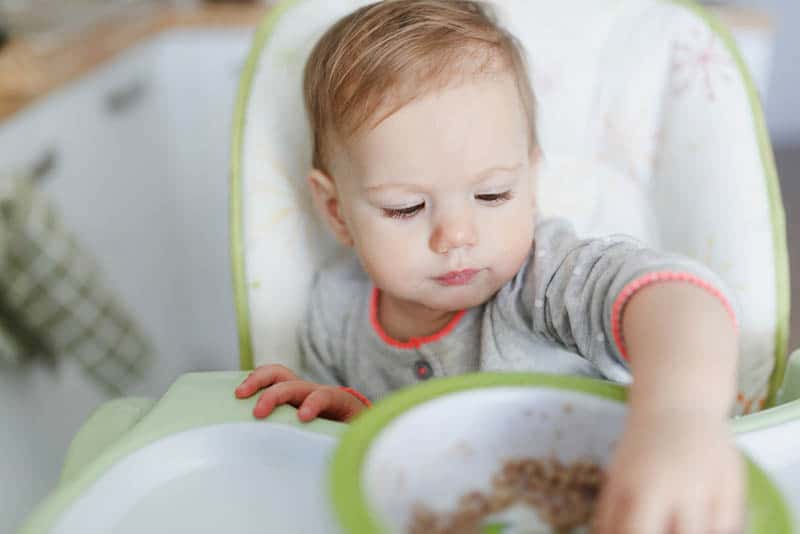
Don’t expect your child to become accustomed to solids overnight.
I know that nothing would make you happier than seeing your little one feeding herself with different finger foods right away, but things just don’t work like that.
Begin by giving her solid food once a day.
Have one meal consist of finger food she’s expected to eat on her own, and the others be a puree, breastmilk, or formula.
The goal is to increase solid food in their meals and gradually decrease purees.
Keep in mind that kids need longer to adjust to new foods.
Therefore, surprising them out of the blue will only be counterproductive and scare your little one off.
Patience is key

This is a step-by-step process, and you have to be as patient as possible.
Trust me, if you’re anxious about how to cut food for baby led weaning your child will notice.
They’ll start seeing it as a big deal and the entire thing will be more complicated.
Be persistent and don’t give up, no matter what!
How To Cut Food For Baby Led Weaning
There is no universal answer for how to prepare food for baby led weaning.
It all depends on your baby’s age and the texture of the food.
6 Months
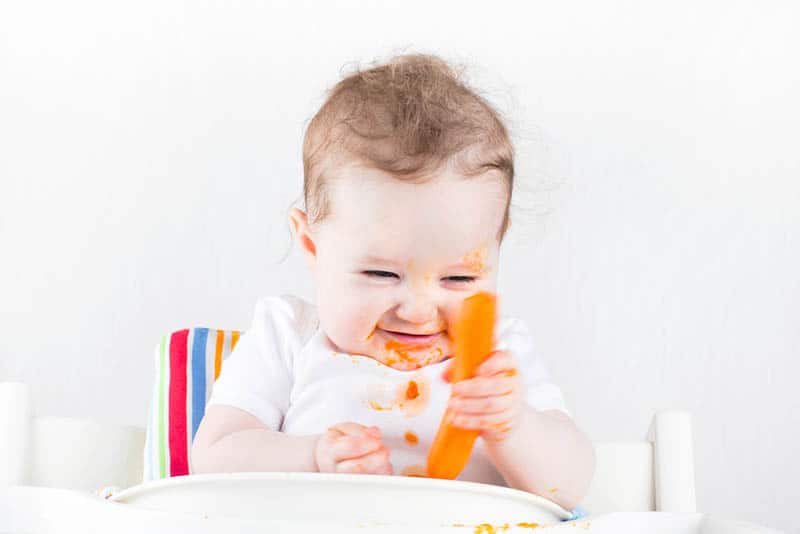
Before you learn how to cut food for baby led weaning, you have to check if your child has developed the pincer grasp, or if she is still picking up and grasping food with her palm and fingers.
RELATED: Why The Pincer Grasp Is A Key Part Of Your Child’s Motor Growth
At this age, the answer will normally be the second option.
That means you should cut the food in a way that allows your child to grasp it without much trouble.
Therefore, the best option is cutting food into long, thin sticks.
It’s a good idea to use your pinky finger as a reference for the length and girth of what you cut.
Remember that your baby is only just getting to know the world around her.
This includes the food that is put in front of her.
Don’t be disappointed if your baby eats less than you expected.
After all, your primary goal is not to change their eating habits all at once.
At this point, the most important thing is for your little ones to explore their new options.
You’re introducing them to something completely new, so it’s no wonder that they want to touch, smell, and taste the meal before actually eating it.
8-10 Months
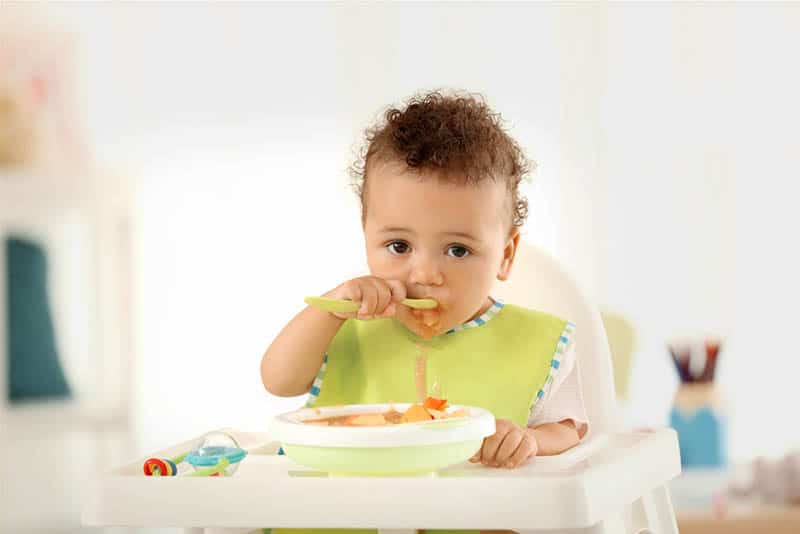
Once your baby reaches 8 months of age, she will have perfected the pincer grasp, which means she’s now perfectly capable of grasping the food with her thumb and index finger.
This is a clear sign your child is ready to begin baby led weaning, so you can start slicing her food into small pieces.
Start off with slightly bigger slices and continue reducing them until you reach the size of a chickpea.
If you see that your baby isn’t adapting to a particular food size well, there is nothing wrong with going back to cutting food into sticks.
When it comes to berries, mash them a little bit, but don’t make a puree.
It’s a great idea to begin introducing a baby spoon for self-feeding.
Let your baby try eating mashed foods with it.
I won’t sugarcoat it: when this phase comes, prepare yourself for loads of mess all around the house, but don’t let that discourage you and never give up.
Trust me, your baby will get the hang of it sooner than you might expect.
How to cut food for baby – serving suggestions
There are lots of different types of food that are perfect to cut up for your little one.
Here are some of the best food examples, some great ways to prepare them for your child, as well as some basic nutritional facts.
Avocado
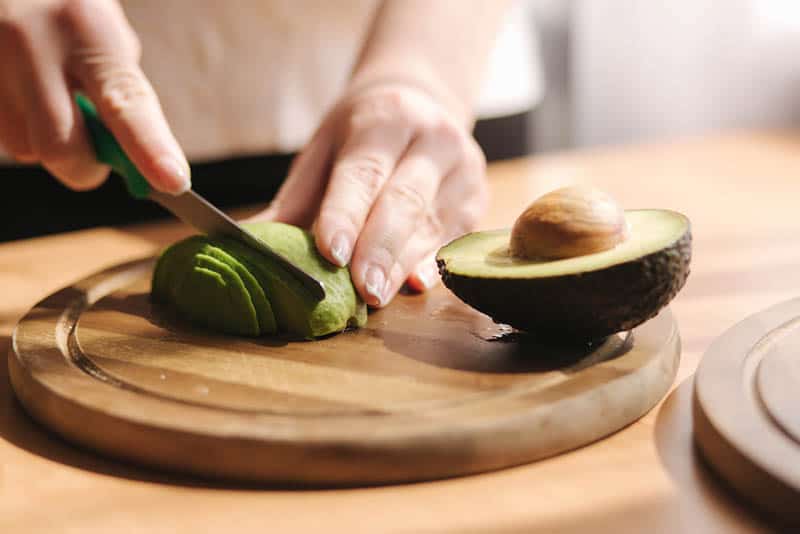
Avocados are full of healthy fats, fiber, and potassium.
They also have a creamy texture and a mild flavor, so they’re one of the best choices for BLW.
It’s safe to give your baby avocado when she reaches 4 to 6 months of age.
Of course, you’ll make a puree when she’s 4 months old, but you’ll cut it up later on.
When your baby is 9 months old, give her 4 to 8 tablespoons of avocado per day, when she is one year old you can increase the amount of avocado to ¾ to 1.5 cups per day.
When it comes to baby led weaning, it’s a good idea to offer your baby slices of avocado, but the trick is not to peel the entire slice.
Instead, only peel half a slice.
This way, it will be easier for your baby to hold it and she will hold on to the peel while eating the rest.
Apple
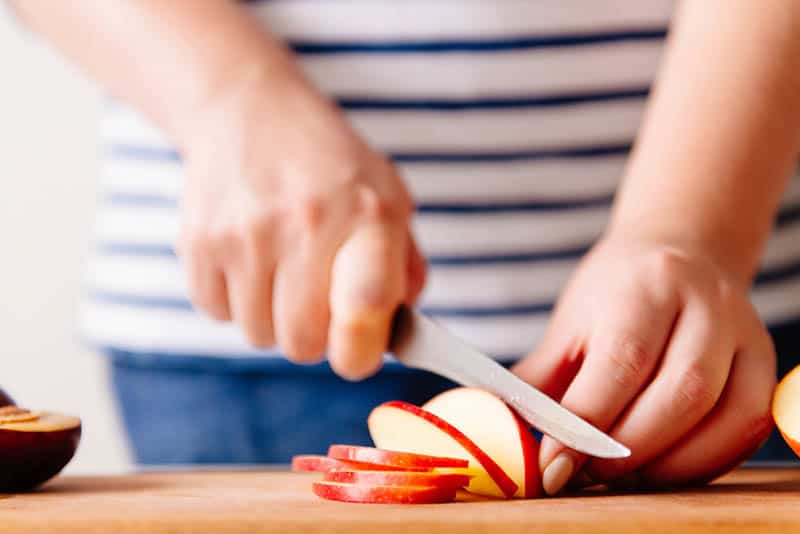
You can’t go wrong with giving your baby apples at any age.
As well as being full of healthy nutrients, they’re also great for BLW as it’s easy to prepare and digest them.
First of all, you need to peel the apples. After you’re done with that, the next step is to cut the apples into quarters.
Removing the hardcore, the seeds, and the skin is also a must.
You’ll be cutting the quarters lengthwise, which means you’ll get 8 equal pieces.
Apples are one of the harder fruits, so you should consider softening them up.
If you made a puree by baking or steaming the apples, baking would be too much. It is enough to put the apples in a steamer or a blender for baby food for a couple of minutes.
Kiwi
Kiwi is another great choice for a baby’s first food. Firstly, it doesn’t have many natural sugars.
At the same time, it contains high levels of vitamin C, which is beneficial for your baby in several ways.
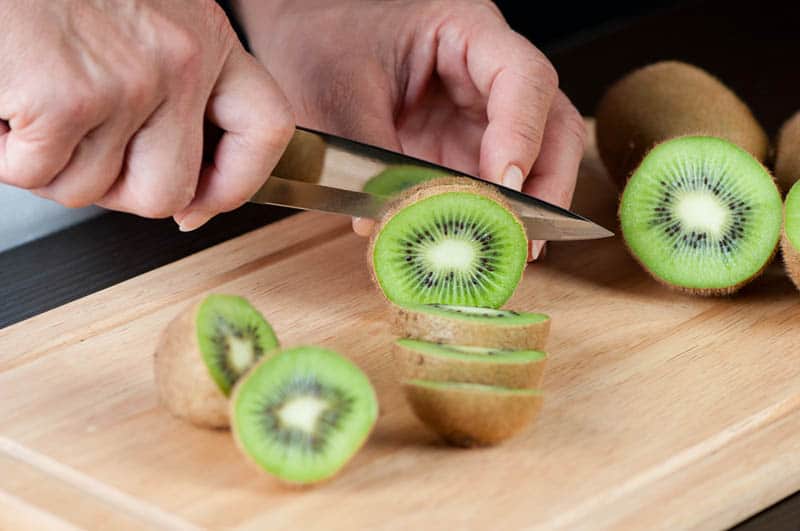
When it comes to how to cut food for baby led weaning, kiwi definitely looks like a challenge.
It’s quite small, so it seems impossible to cut it lengthwise.
Although you can technically do it, the kiwi slices won’t be the right size for your baby to hold.
That’s why it’s important to cut the kiwi wider than the rest of the fruit.
This is especially important if your baby still hasn’t developed a pincer grasp.
If that’s the case, she will be reaching out for the kiwi with her open palm, and if the pieces are too small she will mash them with her hands.
Beef
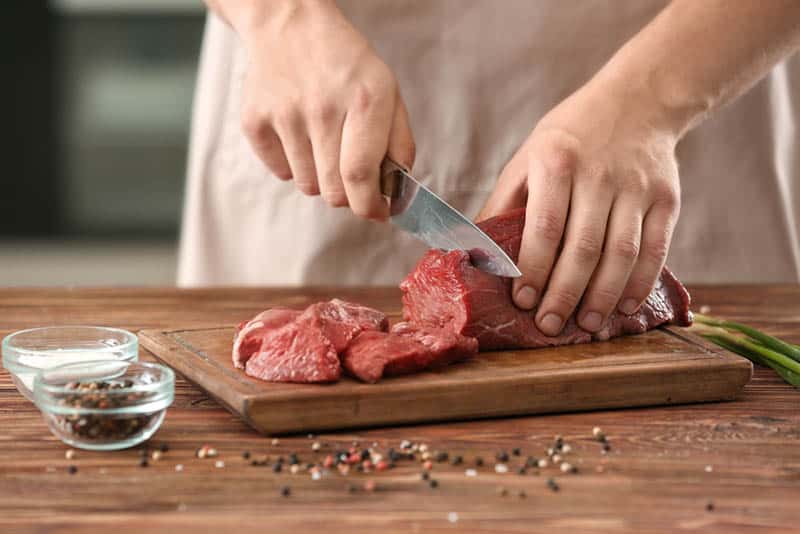
Introducing meat to your baby’s diet is also a good idea. Beef is iron-rich and has high-quality protein, zinc, selenium, and B6.
These are all the nutrients every baby needs at this age, especially if they’ve been breastfed.
The first step to preparing the beef for your youngster is cooking it. Don’t add any unnecessary spices, especially salt.
After you’re done, you’ll need to cut the beef. Once again, you should cut it into a stick the size and shape of your pinky finger.
You might be worried this is too big of a bite for your baby, but any pediatrician will tell you that smaller pieces of food actually present a much bigger choking hazard for a 6-month-old.
When you let your baby struggle with bites, she’s basically learning to eat.
To be precise, she’s learning to gnaw, to spit out what’s too much for her, and to swallow as much as she wants – which is exactly what eating is all about.
Besides, if your baby still hasn’t gotten the hang of the pincer grasp, she won’t know how to pick smaller pieces of food up anyway.
Chicken
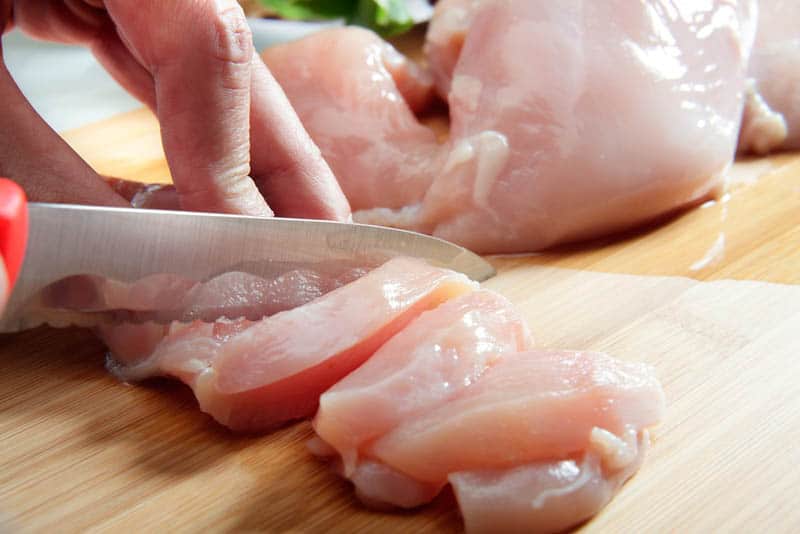
When it comes to feeding your baby chicken, it must be well cooked and sliced.
Chicken is full of protein and it’s great for a baby’s muscle growth.
If your baby is 6 to 8 months old, the safest option is to give her a whole drumstick.
You’ll need to remove the bone cartilage, but you can leave the skin on.
She’ll be fine eating chicken like this and when she reaches 8 or 9 months of age, you can shred the chicken into smaller pieces.
After the baby is 18 months old, the bites can get smaller and smaller.
Once you see that she has mastered the art of chewing and swallowing, go back to giving her the entire drumstick.
Melon
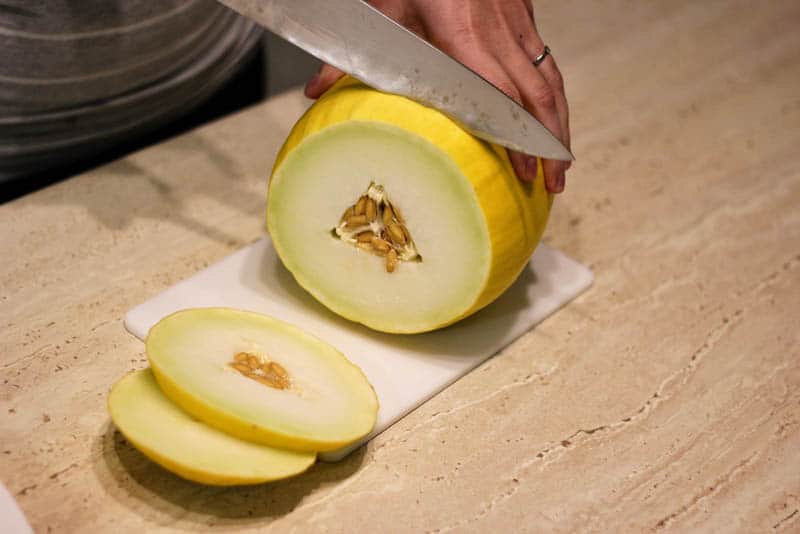
Melon is another food that contains high levels of vitamin C, which is great for your baby’s immune system.
The best way to offer melon and watermelon to your infant is to cut them into rectangular shapes that should be thin but wide.
Removing the seeds is a must.
Carrots
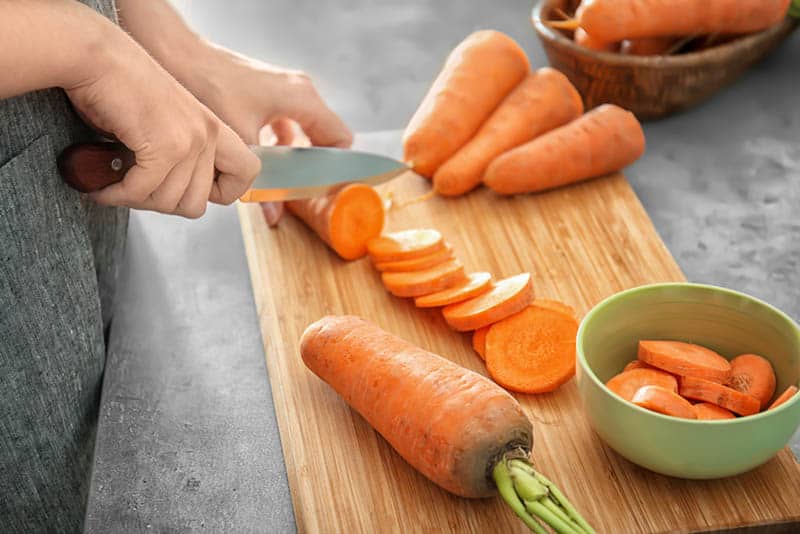
Carrots are a good source of vitamin K, B6, and fiber.
As an adult, you can eat raw carrots cut into circle-shaped pieces.
However, when it comes to a baby’s first foods, neither of these is a good option.
You must first cook the carrots to soften them. After cooking, you should be able to mash them with your fingers.
They shouldn’t be so soft that the baby’s grasp makes them fall apart.
The best way to cut them is into sticks or in square-shaped bites.
Bananas
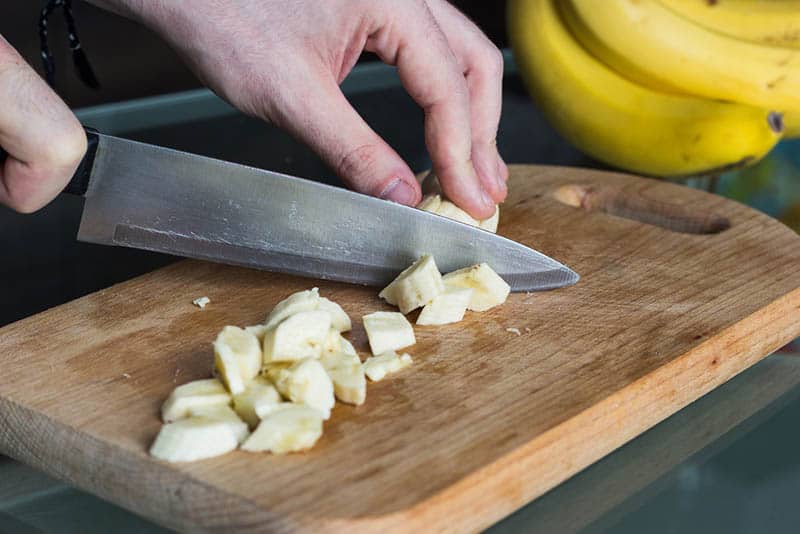
Bananas are rich in potassium and naturally sweet, which is a great combination.
Cutting them is a piece of cake too, you can just slice the banana in half.
But the trick here is not to peel the banana. Instead, just wash it thoroughly and give it to your baby sliced in half.
If you peel it completely, the baby’s hand will mash it and you’ll end up with a puree, this way, they’ll grab the peel and eat the banana like a popsicle.
Cucumbers
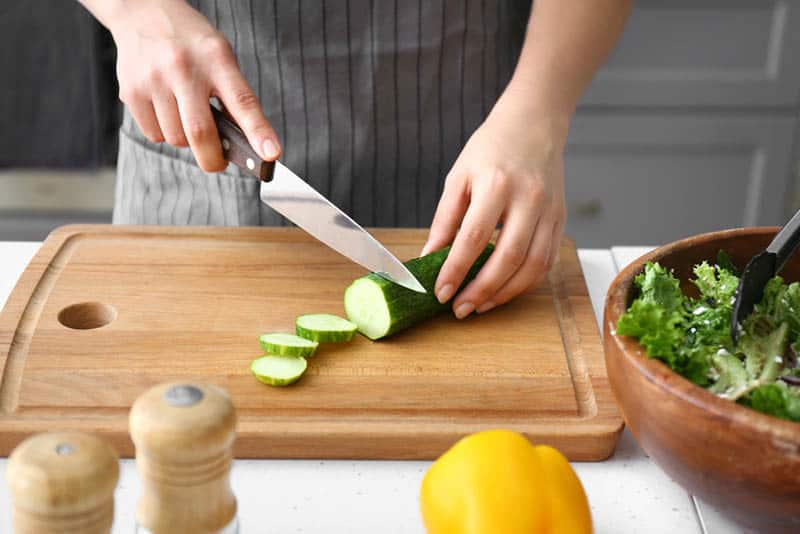
Cucumbers are one of the best natural antioxidants, and they’re great if your baby is constipated.
Keep in mind that a cucumber’s texture can never be mashed completely.
Just cut the cucumber into four or six width-wise parts and your baby is good to go. Keep in mind that babies can eat cucumber, but it’s usually recommended after 12 months of age.
Bread
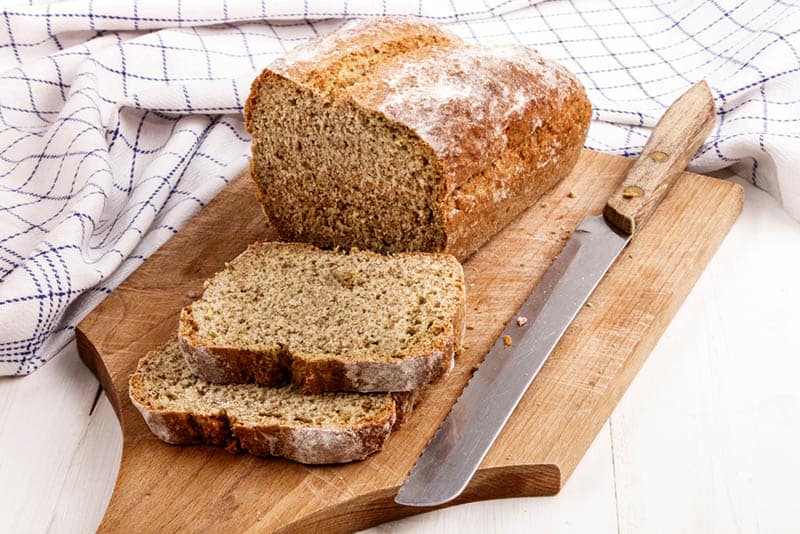
Always choose wholemeal bread instead of white bread, which is more sticky.
Bear in mind that it’s way better to lightly toast the bread before serving it.
Once again, cut it into finger-shaped slices.
You can add a topping of your choice – preferably nut butter, peanut butter, mashed cherry tomatoes, zucchini, green beans, lentils, or sweet potatoes.
Foods you should avoid
Even though you’re giving your child greater autonomy by letting her self-feed, it doesn’t mean you shouldn’t introduce her to a variety of foods.
Just because your little one refuses to eat a certain meal, you should continue offering it to her.
Remember that most children are picky eaters.
Kids of that age don’t accept new textures and flavors as quickly as adults.
Even though your infant may seem to hate the taste of a particular food at first, don’t hesitate to offer it again.
However, this is not an invitation for you to forcefully introduce food to your child.
It’s just a reminder to be persistent.
It will take a while before she accepts a new taste (it could take a dozen tries) but if you’re stubborn enough they will accept it sooner or later.
The worst outcome in this situation is for your baby to “win”.
It’s much easier to remove a certain meal from a menu if she keeps turning it away., but you won’t be doing your baby any favors with this approach.
Of course, if everything you’ve tried doesn’t work and your child obviously has some eating problems, you might want to look into feeding therapy.
There are some foods that are definitely not appropriate for a baby.
Some have ingredients that your baby’s digestive system can’t handle, while others are choking risks.
You shouldn’t include any of these in your finger food meals.
Honey
Children under one year of age shouldn’t eat honey. Clostridium bacteria, which causes infant botulism, can appear in honey and even Honey Nut Cheerios.
Wheat
You can start giving your little one foods containing wheat after eight months of age.
They can be an allergen, so it’s usually recommended to wait to introduce them to your baby’s diet.
Cow’s milk
While it’s safe to use cow’s milk as an ingredient for some meals, it’s not advised to give it to your baby as a drink or as a replacement for breastfeeding.
This is because it contains some proteins and minerals that can be bad for a small baby.
These ingredients are harmful to your little one’s kidneys.
Another reason to avoid cow’s milk for an infant is the lack of vitamin C and iron, which your baby needs.
Seafood
There are two reasons why you should avoid giving seafood (especially fish and seashells) to your infant.
First and foremost, seafood can contain unsafe levels of mercury and other industrial products, and your baby shouldn’t be exposed to either of them.
You should also avoid seafood because of potential food allergies.
Even though fish is quite healthy, sadly it can be the cause of severe allergies so it’s better not to offer it to your baby until her first birthday, at least.
Citrus fruits
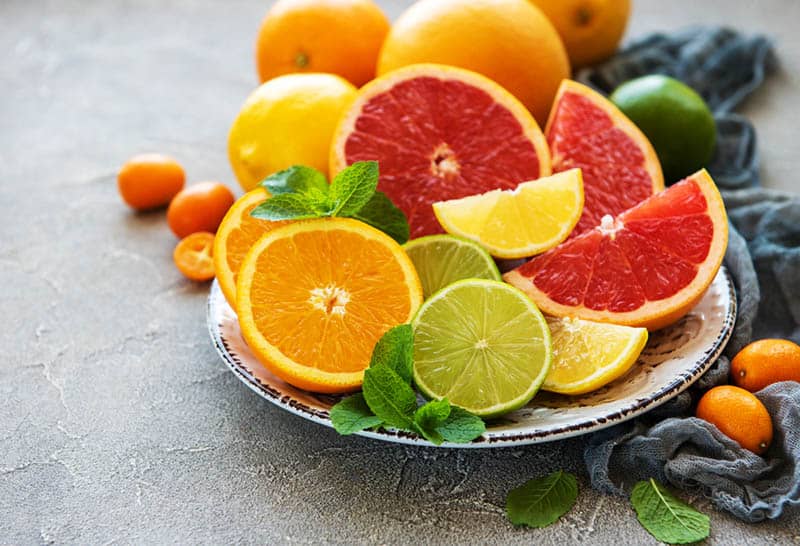
Oranges, cranberries, grapefruit, lemons, limes, mandarins, sweet limes, and other citrus fruits are acidic.
Even though this doesn’t present a problem to adults, each one of these fruits can give your baby a rash.
This rash doesn’t appear on all babies, but it’s definitely a risk you shouldn’t take until your baby turns one.
Sugar
Who doesn’t like cookies or chocolate? Babies are no exception!
Nevertheless, sugar is harmful to babies in more than one way.
First and foremost, it increases the risk of developing a sweet tooth and other dental problems.
It’s also dangerous because it has a high risk of causing obesity, insulin resistance, or diabetes later on in life.
Besides, your child is likely to become moody and hyperactive if she eats too many sweets.
Salt
The key thing to pay attention to when giving salt to your child is how much you give them.
The safe amount of salt for kids under one year old is approximately 1g of salt per day.
Anything above that is dangerous for your baby’s undeveloped kidneys.
Therefore, if you decide to introduce salt to your child’s meals, be careful to adhere to the daily recommended intake.
Safety Warnings
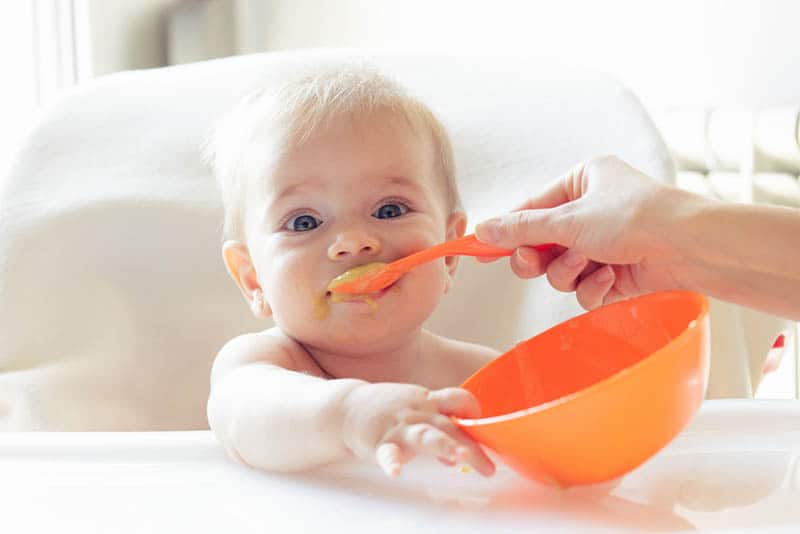
As well as the foods you shouldn’t offer your baby until she reaches a certain age, there are also some safety warnings I want to remind you of.
This is especially important when you’re trying to figure out how to prepare food for baby led weaning.
Even though you’re teaching your little ones to feed them themselves, you must always be present during the process.
Your job doesn’t end once you’ve picked the best recipes for baby food, prepared a tasty meal, and followed the advice on how to cut food for baby led weaning.
Even though berries and whole grapes seem too small to be dangerous for your baby, they’re actually a choking hazard.
If you do decide to include these foods, make sure to cut them up into a few bits after slicing them.
I’m sure I don’t have to tell you that foods such as candy, raisins, peanuts, nuts, popcorn, and other similar foods are a potential choking hazard, but it’s better to be safe than sorry.
When it comes to solids, try your baby’s food before giving it to her and see if it melts in your mouth if it was mashed before serving.
Whatever you choose to offer to your child, make sure to keep her safe at all costs.
Tips And Tricks For Baby Led Weaning
Pick the perfect setting
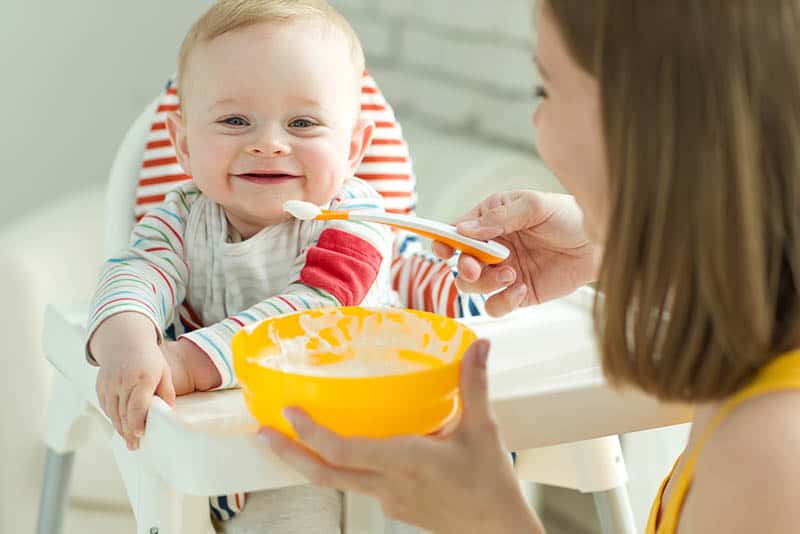
Now that you’ve found the perfect setting and decided between a high chair and your lap, you’re good to go.
Just one more tip: even if you choose the high chair, stay next to your kid while she’s eating.
The best thing you can do is to stay seated while you’re offering her food.
Remember, this entire process is an interaction between you and your child.
Even though one of your goals is for her to accept independent eating, you’re still a crucial link in this chain.
Making mealtime a family activity

I’m not suggesting you would ever leave your infant unsupervised while eating at this age.
You can’t be doing some other household chores while your baby is eating either.
You have to literally sit next to her or in front of her.
It would be great if you could also eat while you’re offering her food too.
Kids learn by example.
If your youngster sees you enjoying your portion of finger food, she’ll follow your lead and know that her meal is safe and tasty.
Therefore, it’s important for you to eat the same food as your baby.
If you don’t want to eat the same food, this doesn’t have to be a real meal for you.
You can just consider it a snack, the important thing is for your little one to see the whole family eating as well.
When she feels included, eating will seem to be a fun activity instead of something forced upon her.
It would be great if you could arrange these meals every day at the same time.
By doing this, you’ll help your child create a healthy routine and she’ll continue with this good habit in the future.
Gag reflex
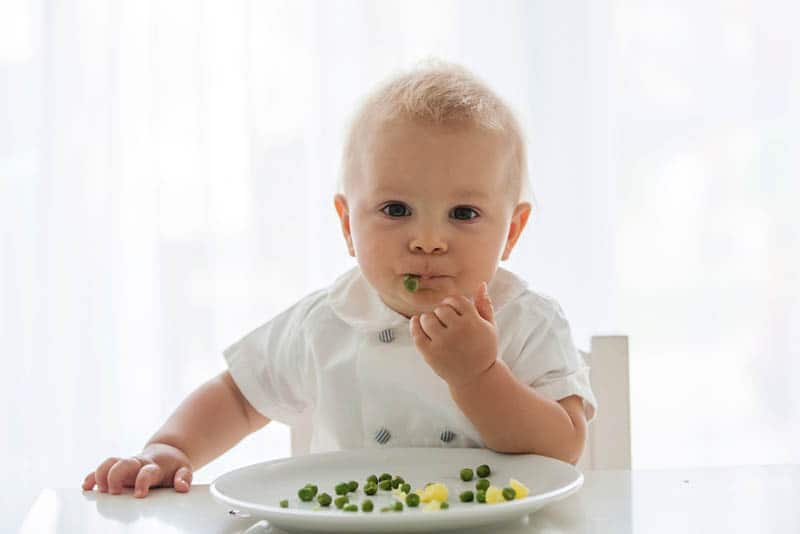
When you hear and see your baby gagging, your first instinct is probably to be afraid.
You may think that your baby is choking, want to end this BWL nonsense, and go back to mashed food.
What most parents don’t know is that gagging is not the same as choking.
In fact, it is a reflex that actually prevents choking.
It appears around the time your baby reaches 6 months of age, which is when babies start solids.
Of course, the gag reflex can be triggered by other things like fingers or a spoon, not only food.
If your child has a sensitive gag reflex, then introducing solid food that dissolves easily is better than purees and lumpy food.
Also, brushing your child’s teeth (if they have any) will help with this.
Even though gagging might seem scary (especially when your infant experiences it for the first time), please don’t panic.
It’s a perfectly natural part of weaning.
In fact, a gag reflex is a baby’s way of protecting themselves.
When she gags, it’s protecting the airway as well as a response to new textures and tastes.
Also, it is a good sign that your baby knows how to move food around her mouth, and most importantly that she’s learning how to get the food out of her mouth.
The crucial thing here is for you to learn to differentiate between gagging and choking.
Contrary to popular belief, choking is silent in most cases.
On the other hand, gagging makes a noise.
When choking, you can’t breathe and therefore are incapable of producing a sound, whereas with gagging, your baby will cough, jump and be very loud.
A red flag for choking is nails turning blue.
Introducing new foods

Remember how we talked about taking things one step at a time?
Well, this also means that you shouldn’t try introducing your baby to lots of different new foods all at once.
Instead, offer them one new food a day.
If that is too fast, and you see your baby rejecting these new meals, give her new food every few days instead.
On the other hand, if you have trouble coming up with different meals every day, the best solution could be coming up with a food planner on a monthly basis for your baby and for the rest of the family.
The important thing is for your baby to taste different textures, so keep to a variety of choices instead of sticking to only one taste or texture.
Water

According to dietitians, it’s safe to give your baby water when she reaches 6 months of age.
Of course, this is also the time when she’ll be introduced to solid food.
Until then, the baby’s kidneys can’t process and filter plain water, so she’s in danger of water intoxication.
At this point, water is your biggest ally.
It will help the baby to swallow her food easier, so it’s best to give her water in an open cup or a sippy cup.
Breastmilk and formula

It doesn’t matter if you’ve been exclusively breastfeeding your baby or giving her formula up until this point, solid foods won’t replace these meals just yet.
Continue with breastfeeding or formula together with these new meals.
Texture
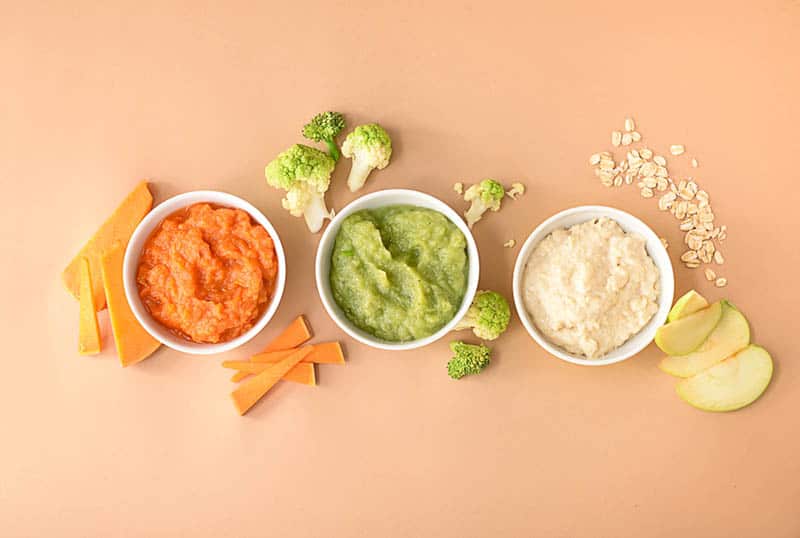
Just because you’re starting to introduce your child to solids, it doesn’t mean your baby is capable of eating firm food the same way you do.
No matter how old your child is, the food must still be soft to a certain extent.
The best way to check this is to try and squeeze the food between your forefinger and thumb.
If you can mash it, it’s a sign this food is safe for your baby to eat.
If not, it means that you need to process it some more.
Raw vegetables and fruits are mostly a no, no.
This especially applies to apples, butternut squash, raw carrots, or nuts.
You can choose between steaming, cooking, or roasting your vegetables and fruits.
Meat must be tender.
Cues your baby is hungry or full

You should always pay attention to your baby’s hunger cues, and do your best to listen to whatever she’s trying to tell you.
I know you want your baby to eat as much as possible so she’s healthy and well-fed, but sometimes you have to give her control over her eating habits.
When your child is under 6 months and hungry, she’ll suck her thumb or open her mouth.
These hunger cues can change over time, though.
When your baby reaches 6 months of age, she’s more likely to point at different food when hungry, or produce a sound when her favorite food arrives at the table.
On the other hand, signs that a baby is full are much clearer at this age.
The baby starts shaking her head, or she’ll simply close her mouth. Both of these actions are her way of refusing to keep eating.
At this point, you should stop feeding your baby.
She’s full and it’s safe to wait until the next meal.
If your child gets hungry before the next meal is on schedule, she’ll give you an appropriate signal.
To Wrap Up
Now that you’ve learned how to prepare food for baby led weaning, as well as all the other BLW tricks, the most important thing is to allow your baby to go at their own pace.
Even though these are general guidelines, bear in mind that every child is different and they will progress at a different pace.
Don’t obsess over numbers or timing. Instead, learn as you go. I’m sure you’ll do a great job!
Like this post? Please share or pin it for later. You can also stay in the loop and follow us on Facebook, Instagram or Pinterest.
We love honesty! Find Your Mom Tribe is an Amazon Associate and we earn from qualifying purchases through affiliate links at no extra cost to you. Please see our full Amazon Affiliate disclosure for more information.

